Blog

 RSS Feed

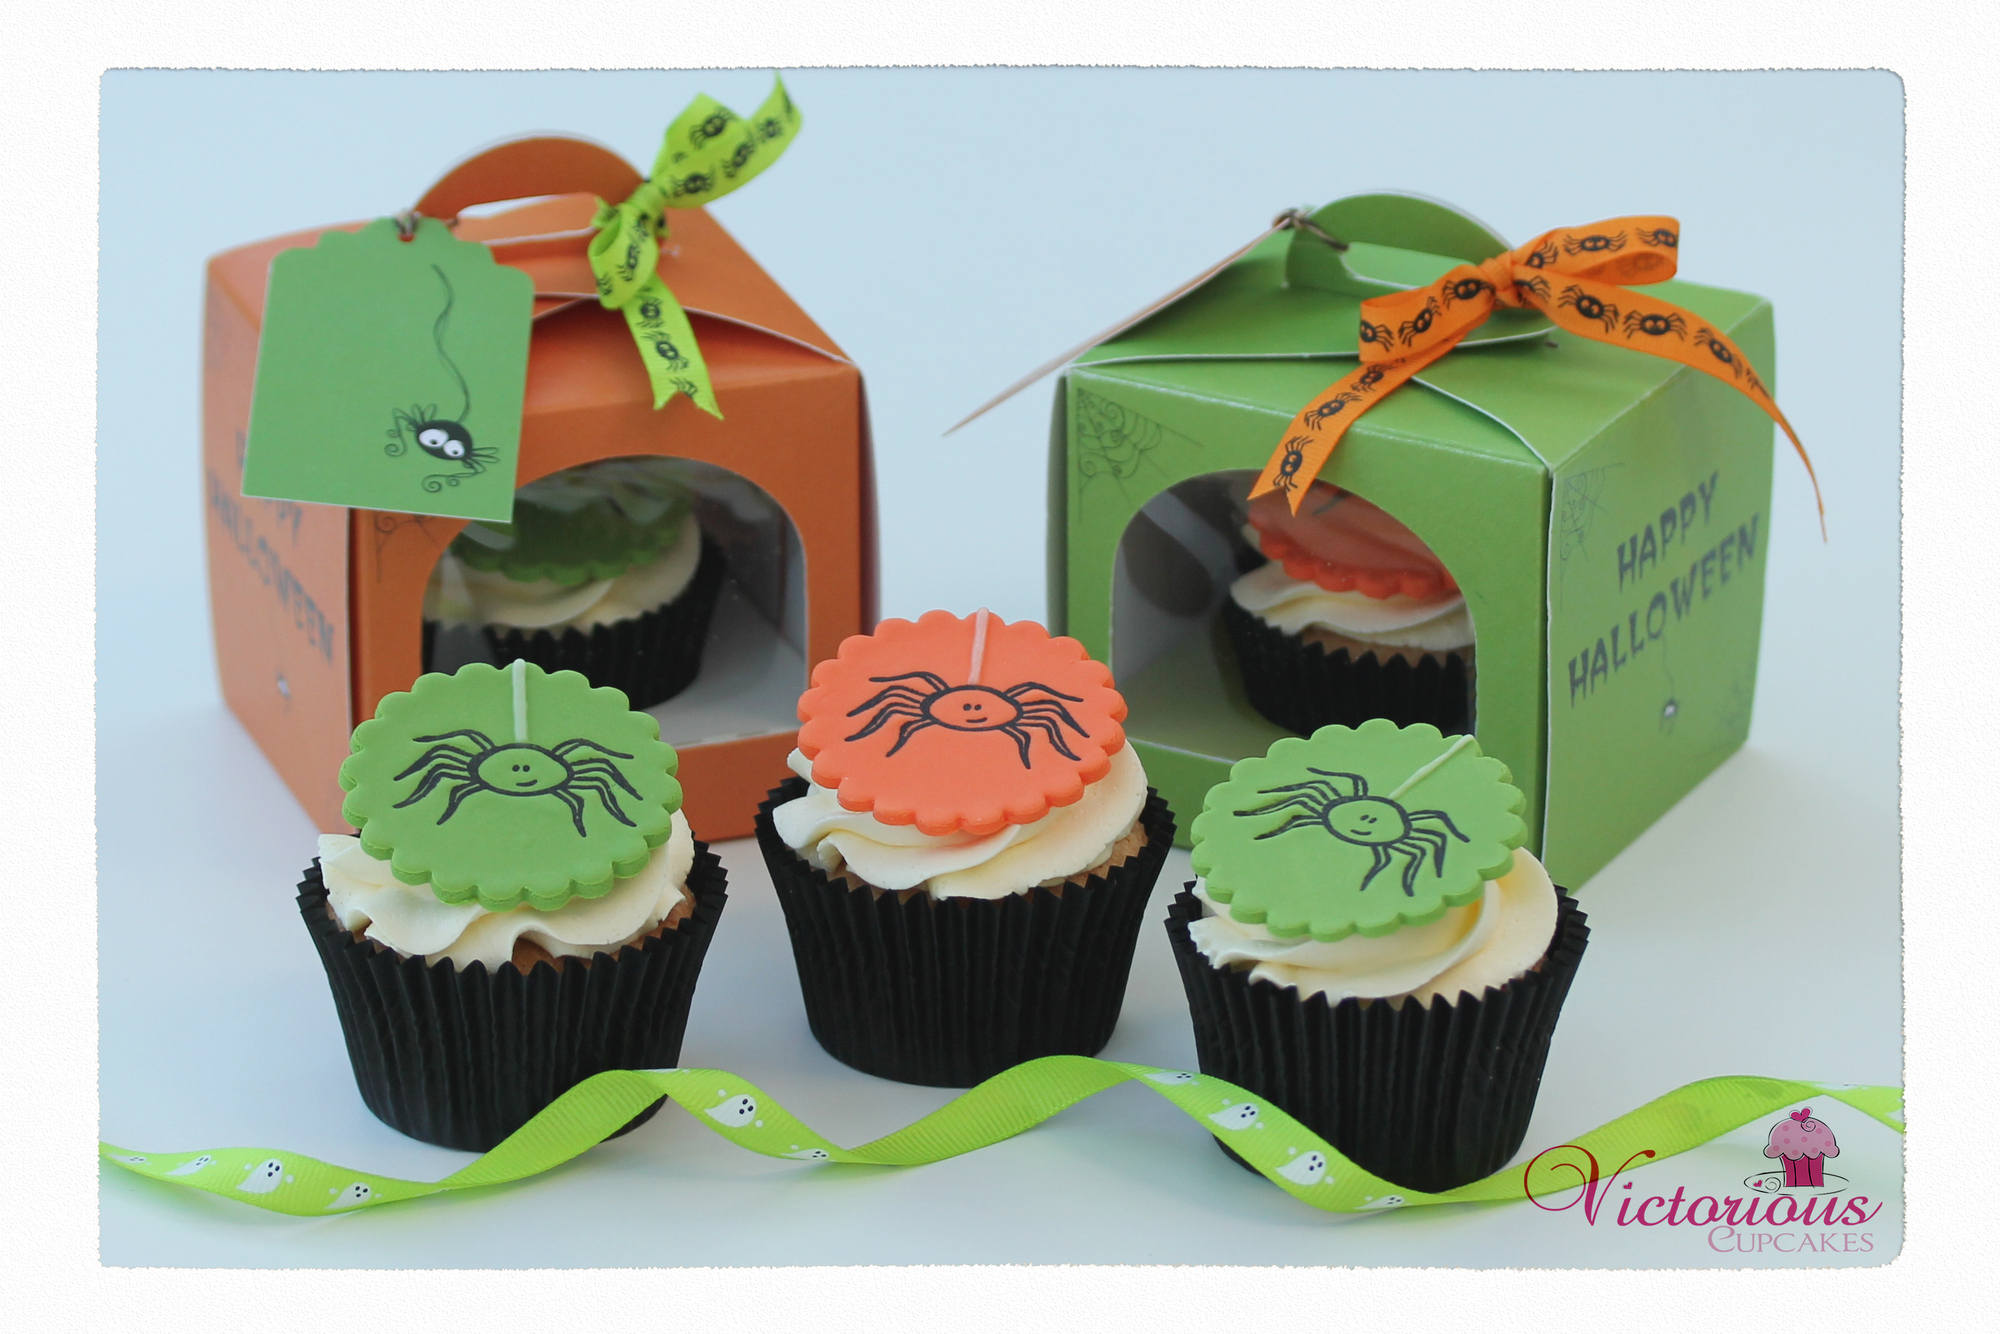
  1. Step by step tutorial on how to make these fab spider cupcakes, perfect for a Halloween party!
    Presented in our Halloween packaging that can be purchased in our shop.

    Embellishments are also available!

    These cupcakes are created by the wonderful and talented Victorious Cupcakes.
    Spider Cupcake Tutorial Framed

    Step one:
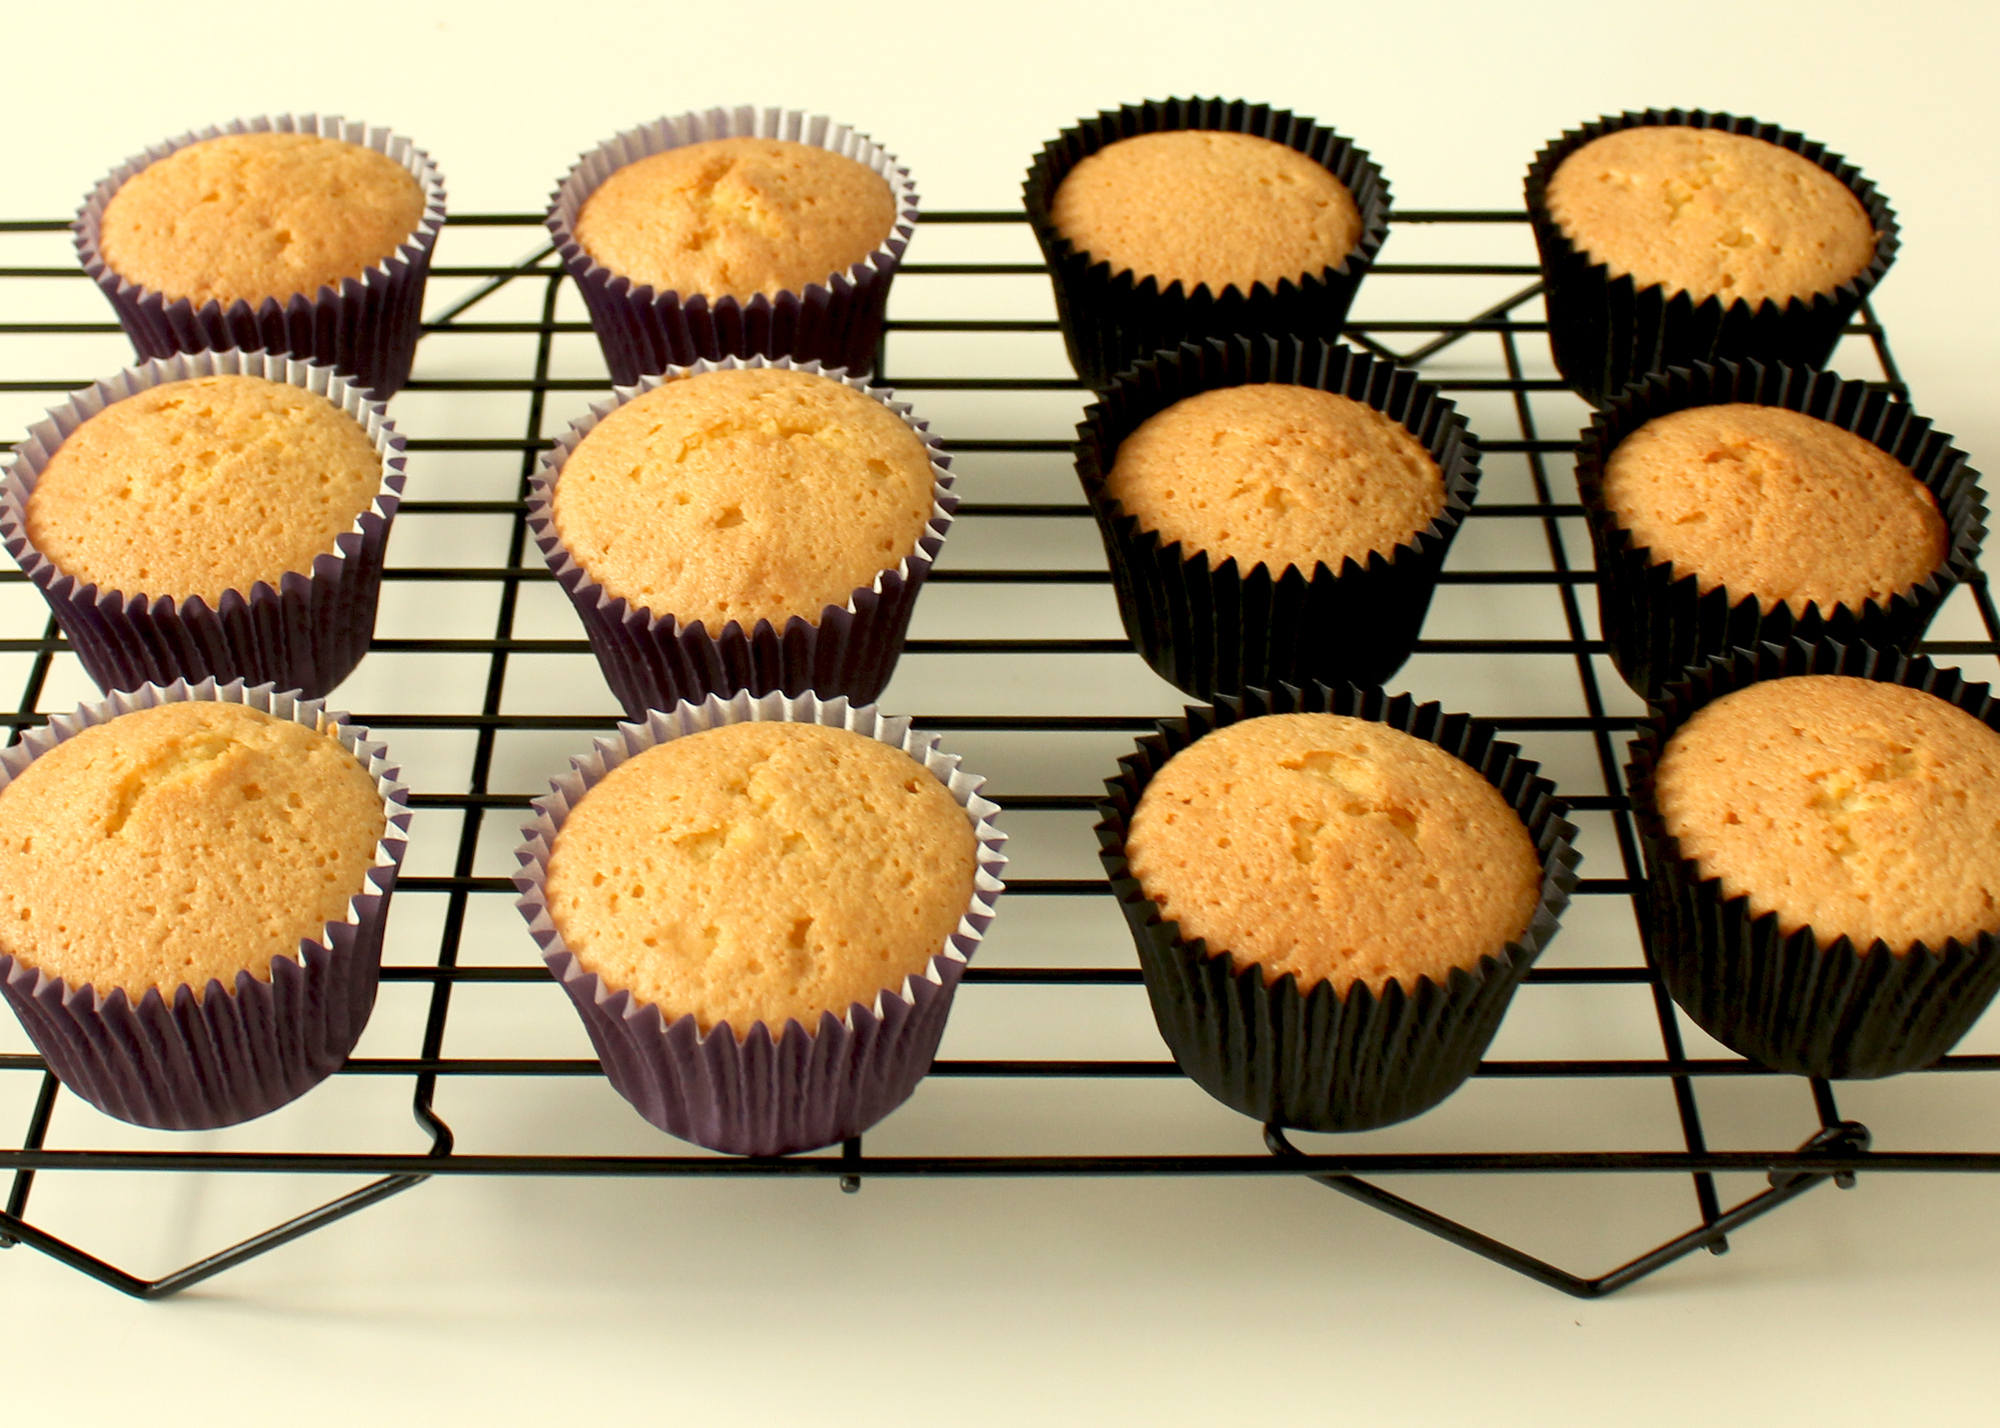
    Bake some basic vanilla cupcakes and allow to cool before filling the middle with jam (see step eleven).
    Spider Cupcakes Tutorial 2

    Step two:
    Soften some modeling paste, kneading the paste with your fingers. 
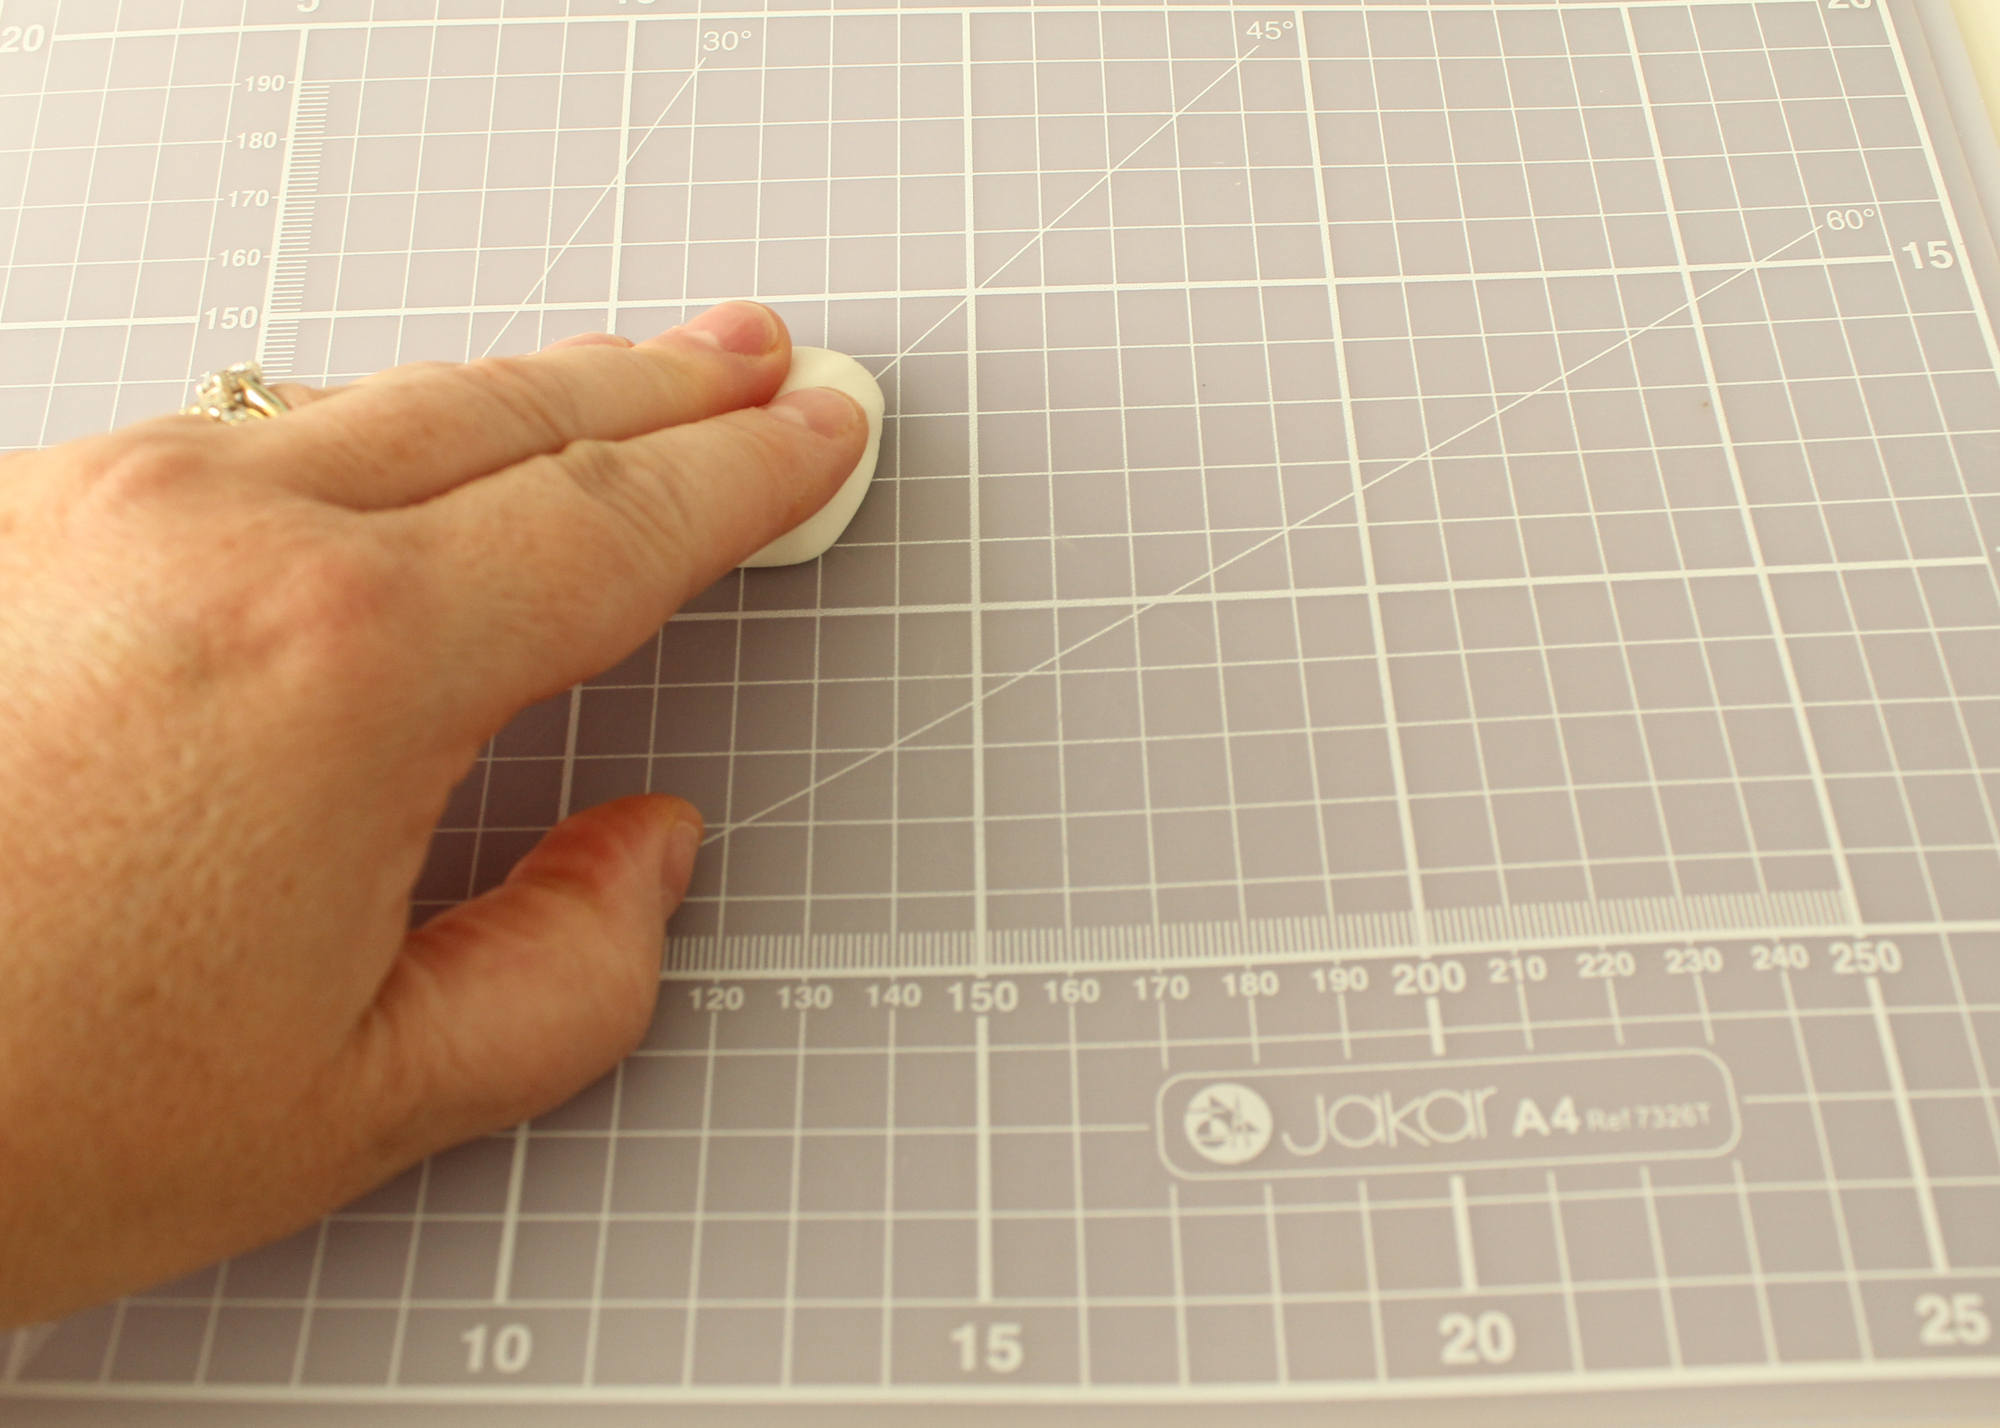
    Spider Cupcakes Tutorial 3

    Step three:
    Dip a cocktail stick into food colouring and apply to the paste, kneading to mix thoroughly.
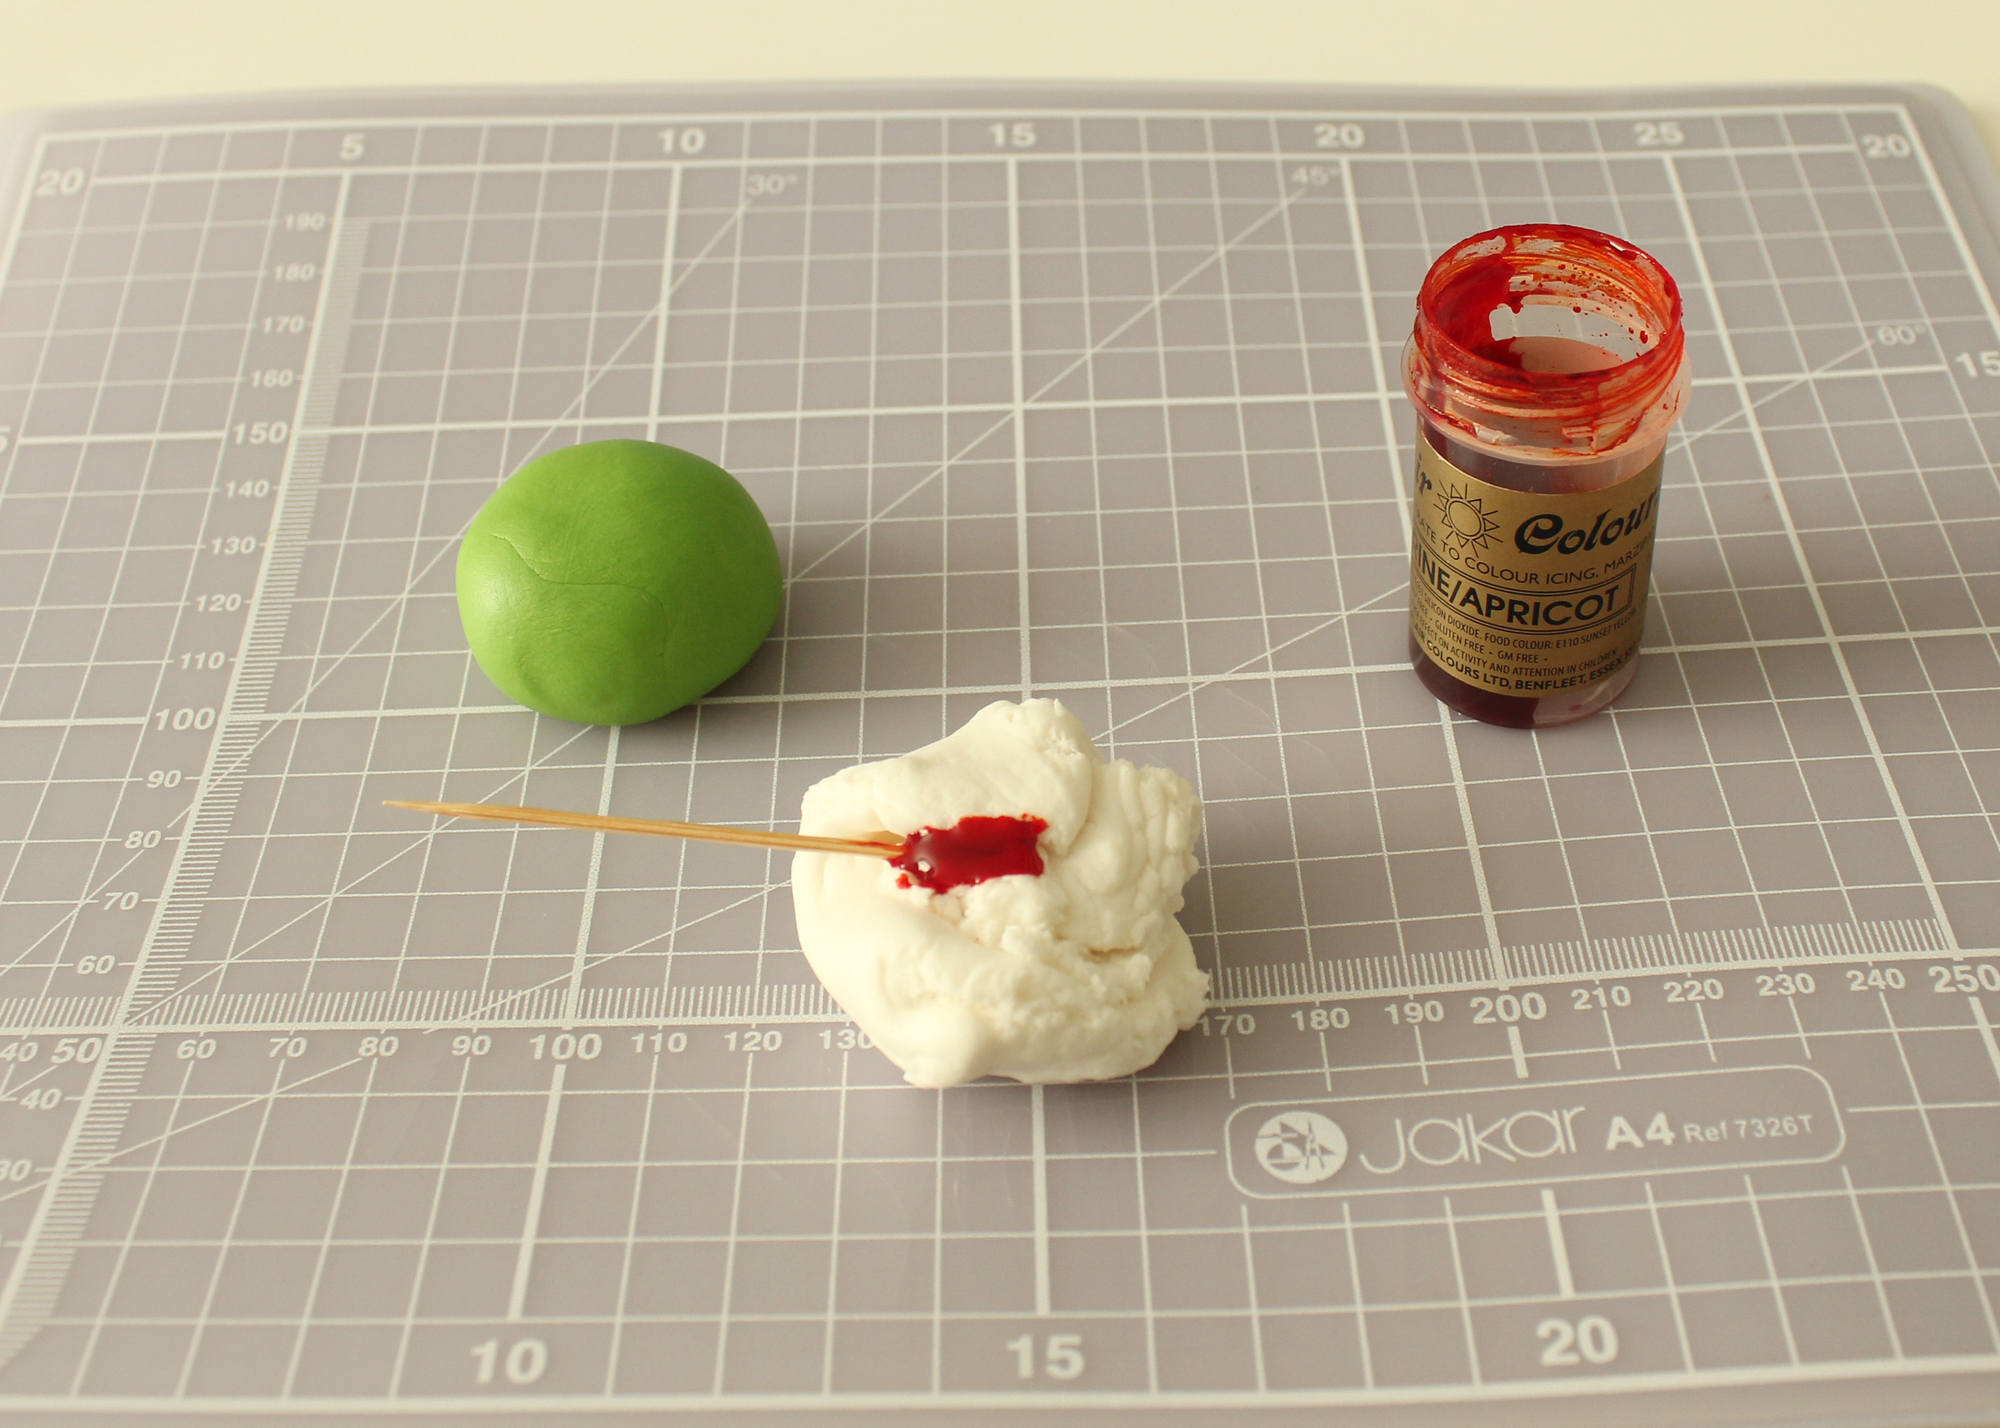
    Spider Cupcakes Tutorial 4

    Step four:
    Using a rolling pin, flatten out the fondant and then cut out some circles and place to one side to set.
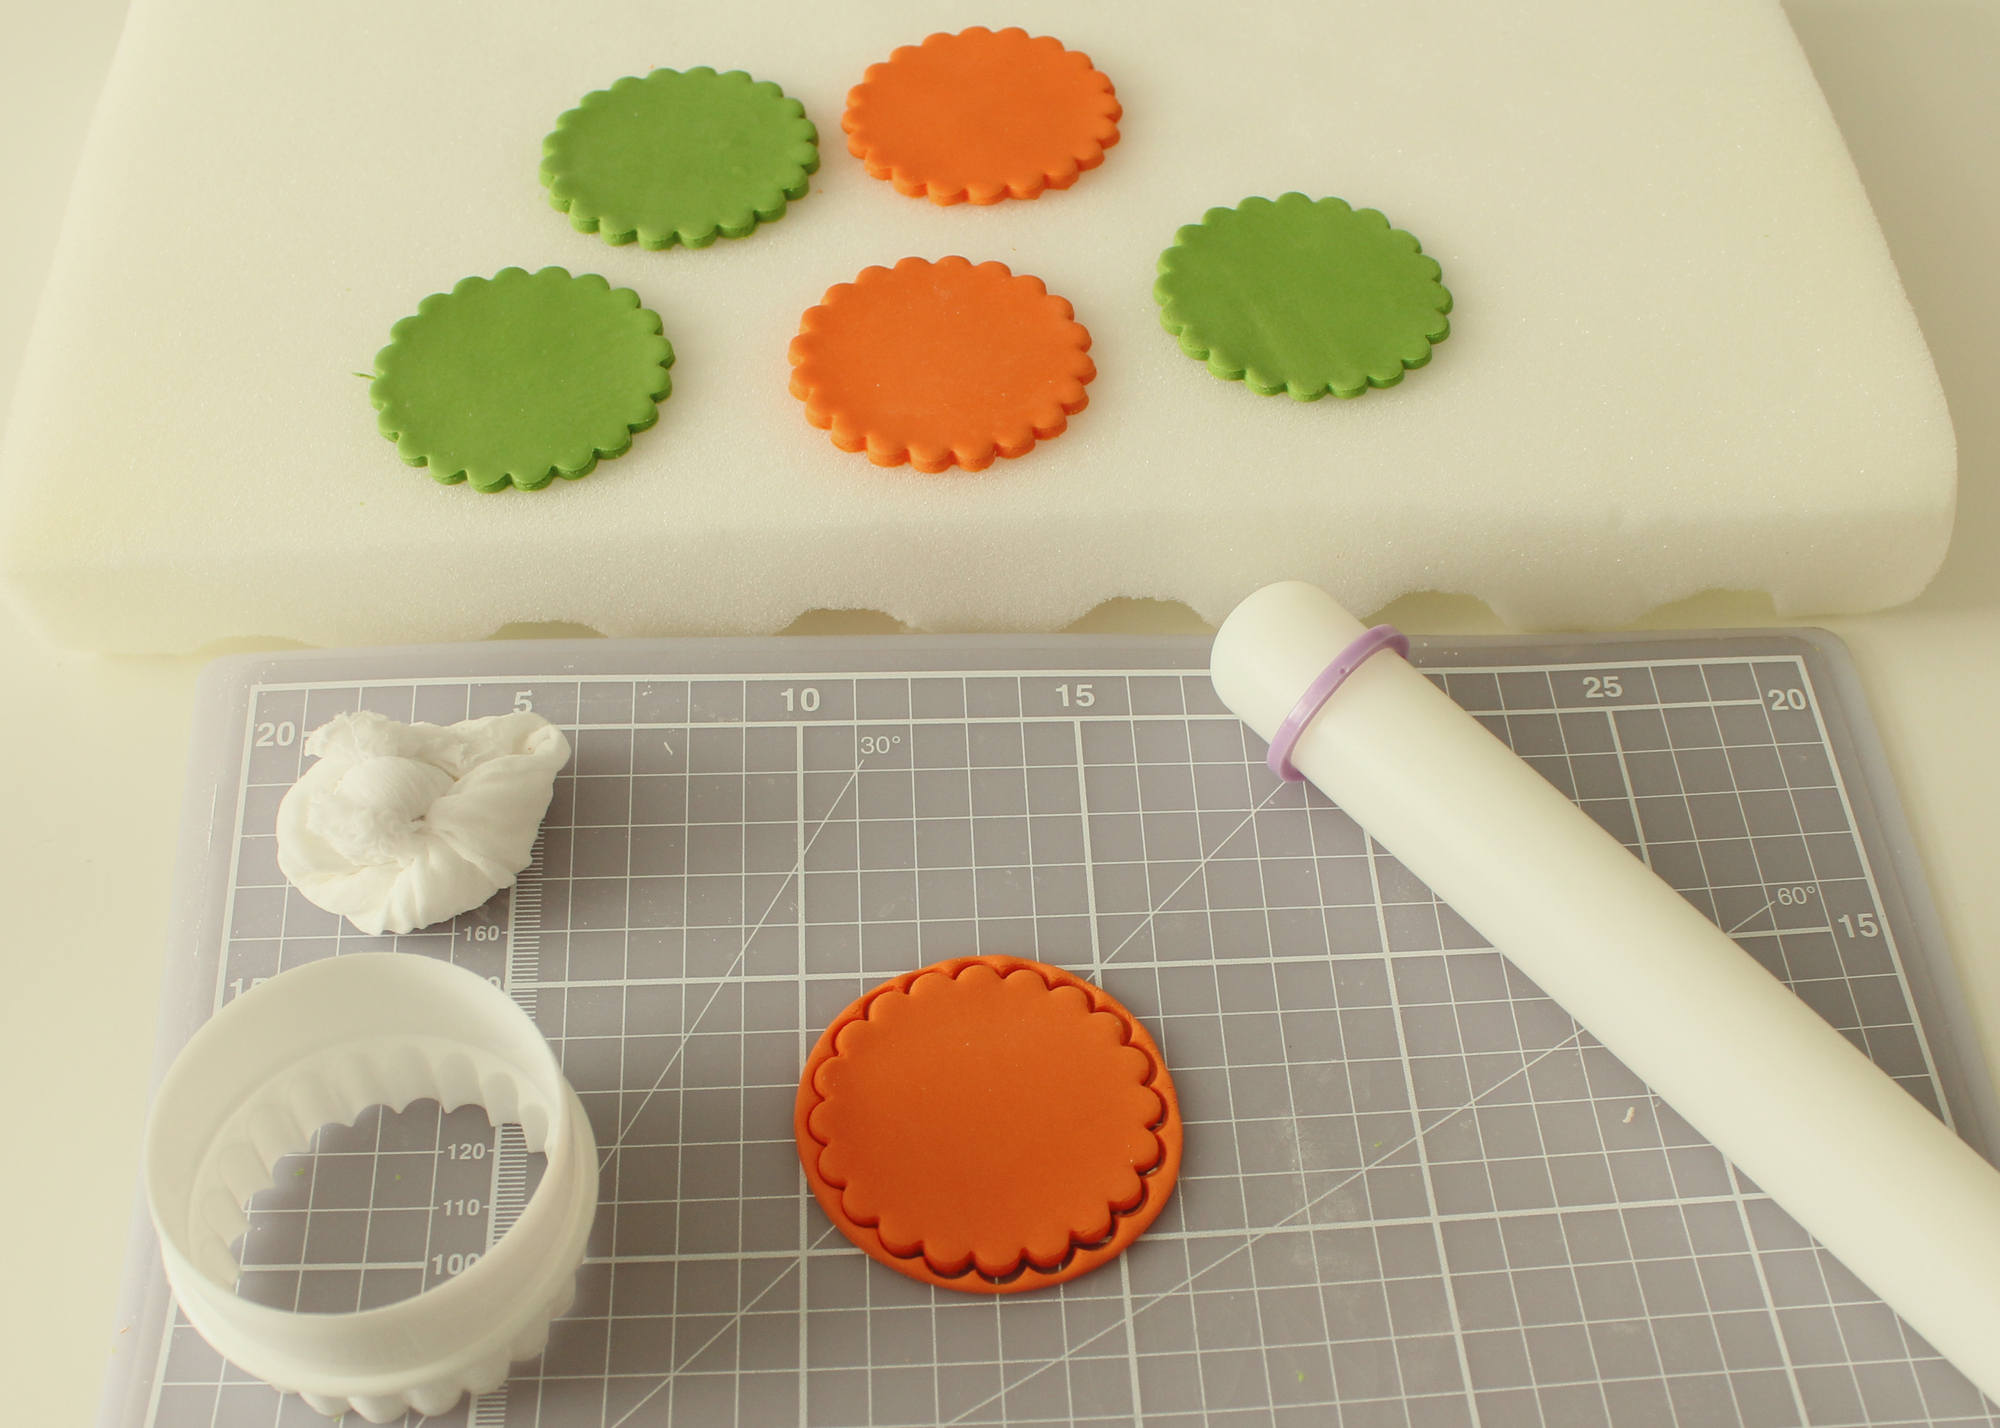
    Spider Cupcakes Tutorial 4

    Step five:
    Spread some food colouring on to a kitchen towel using a pallet knife.
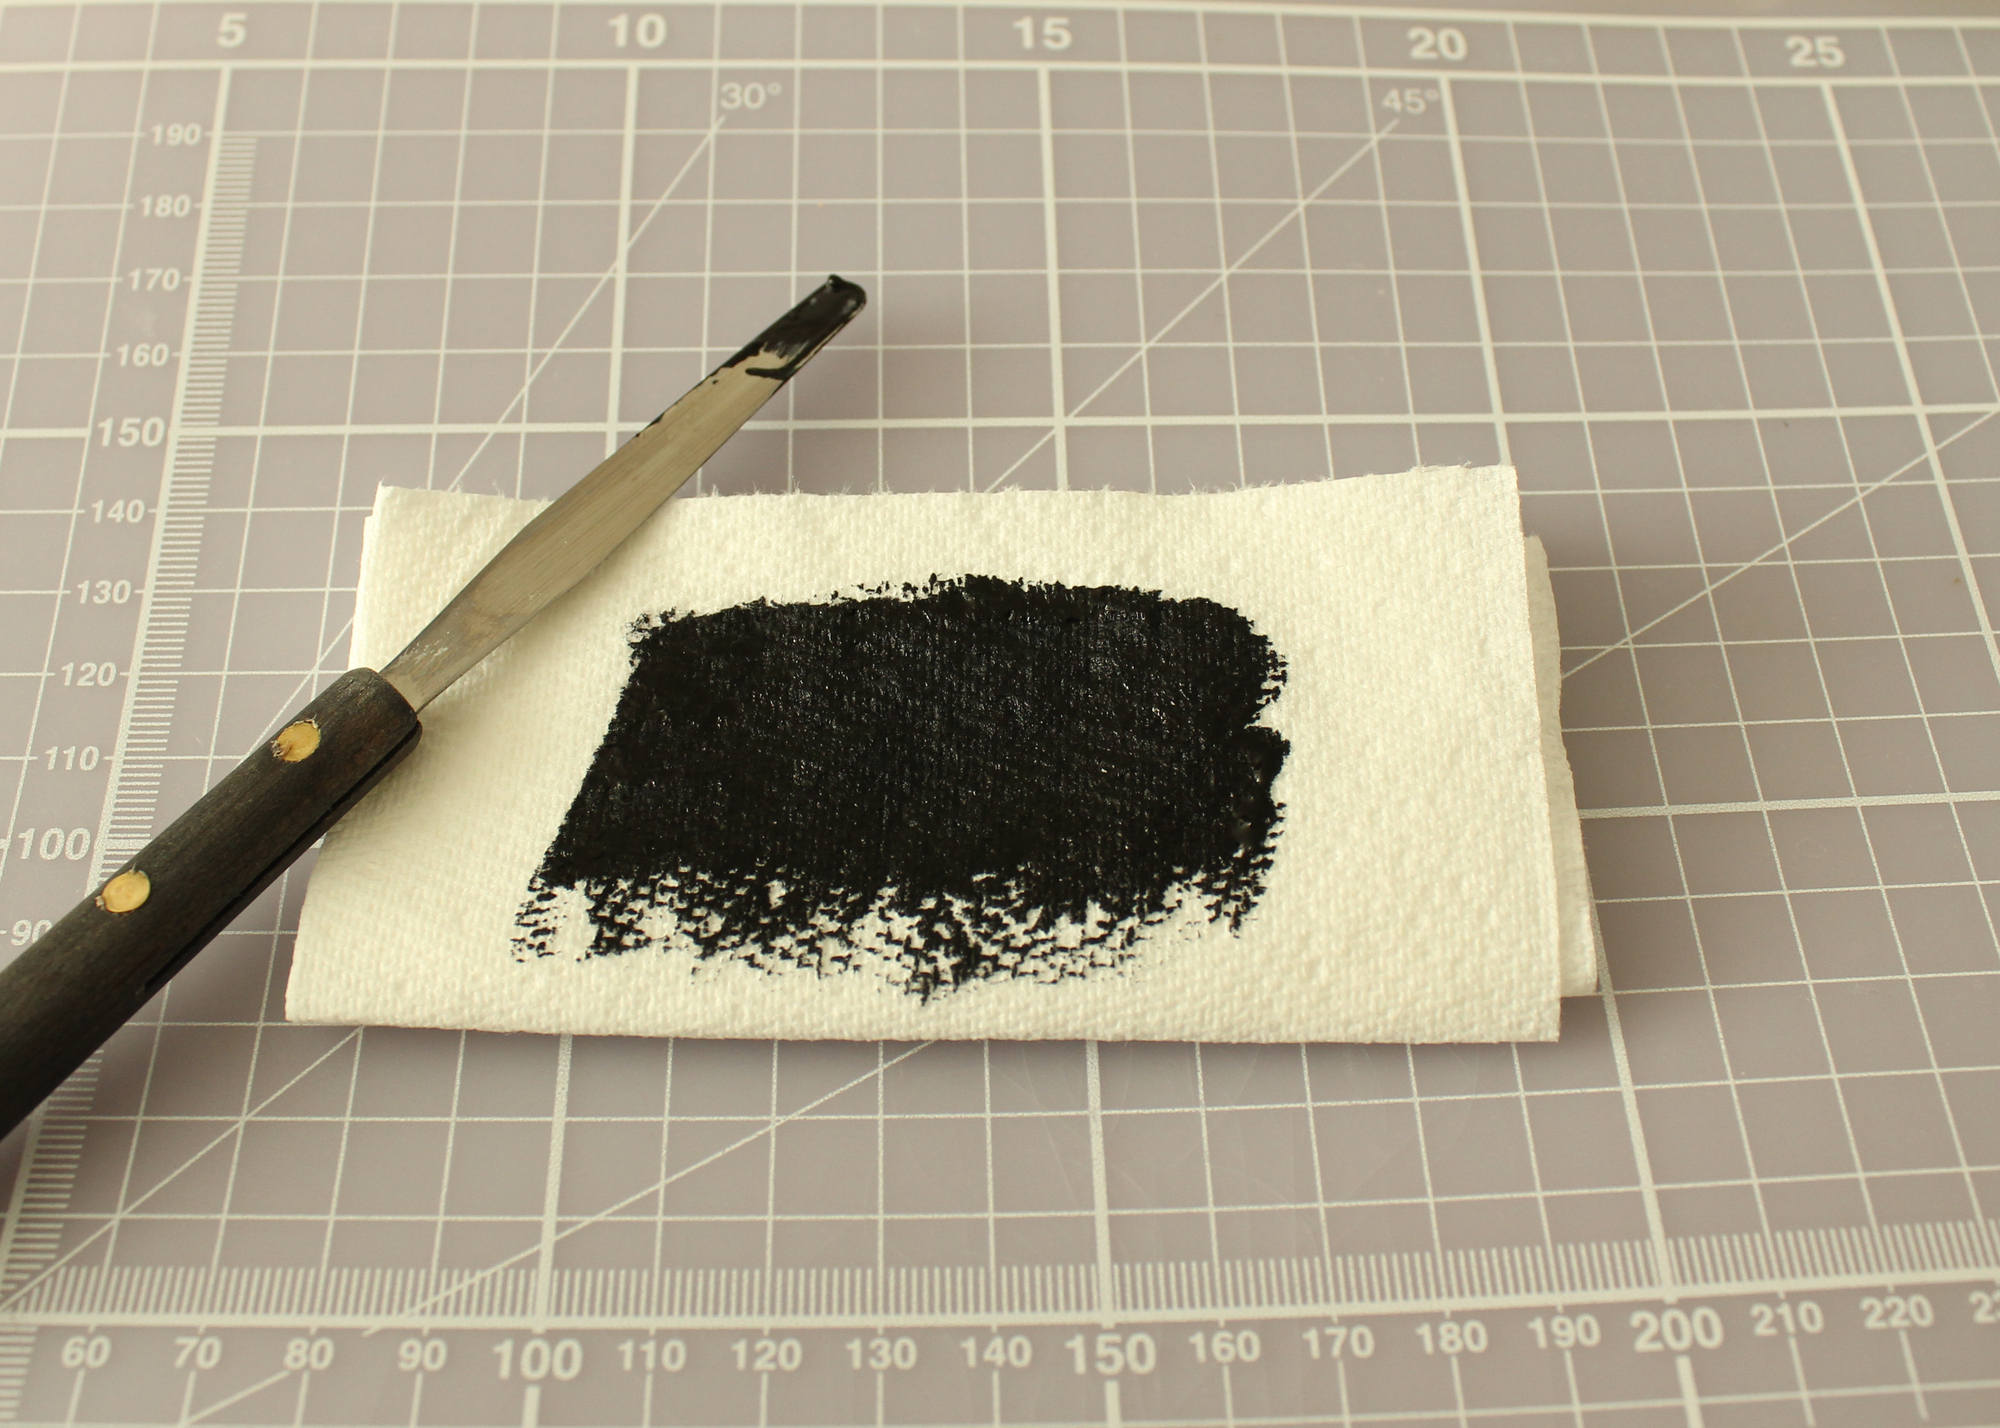
    Spider Cupcakes Tutorial 6

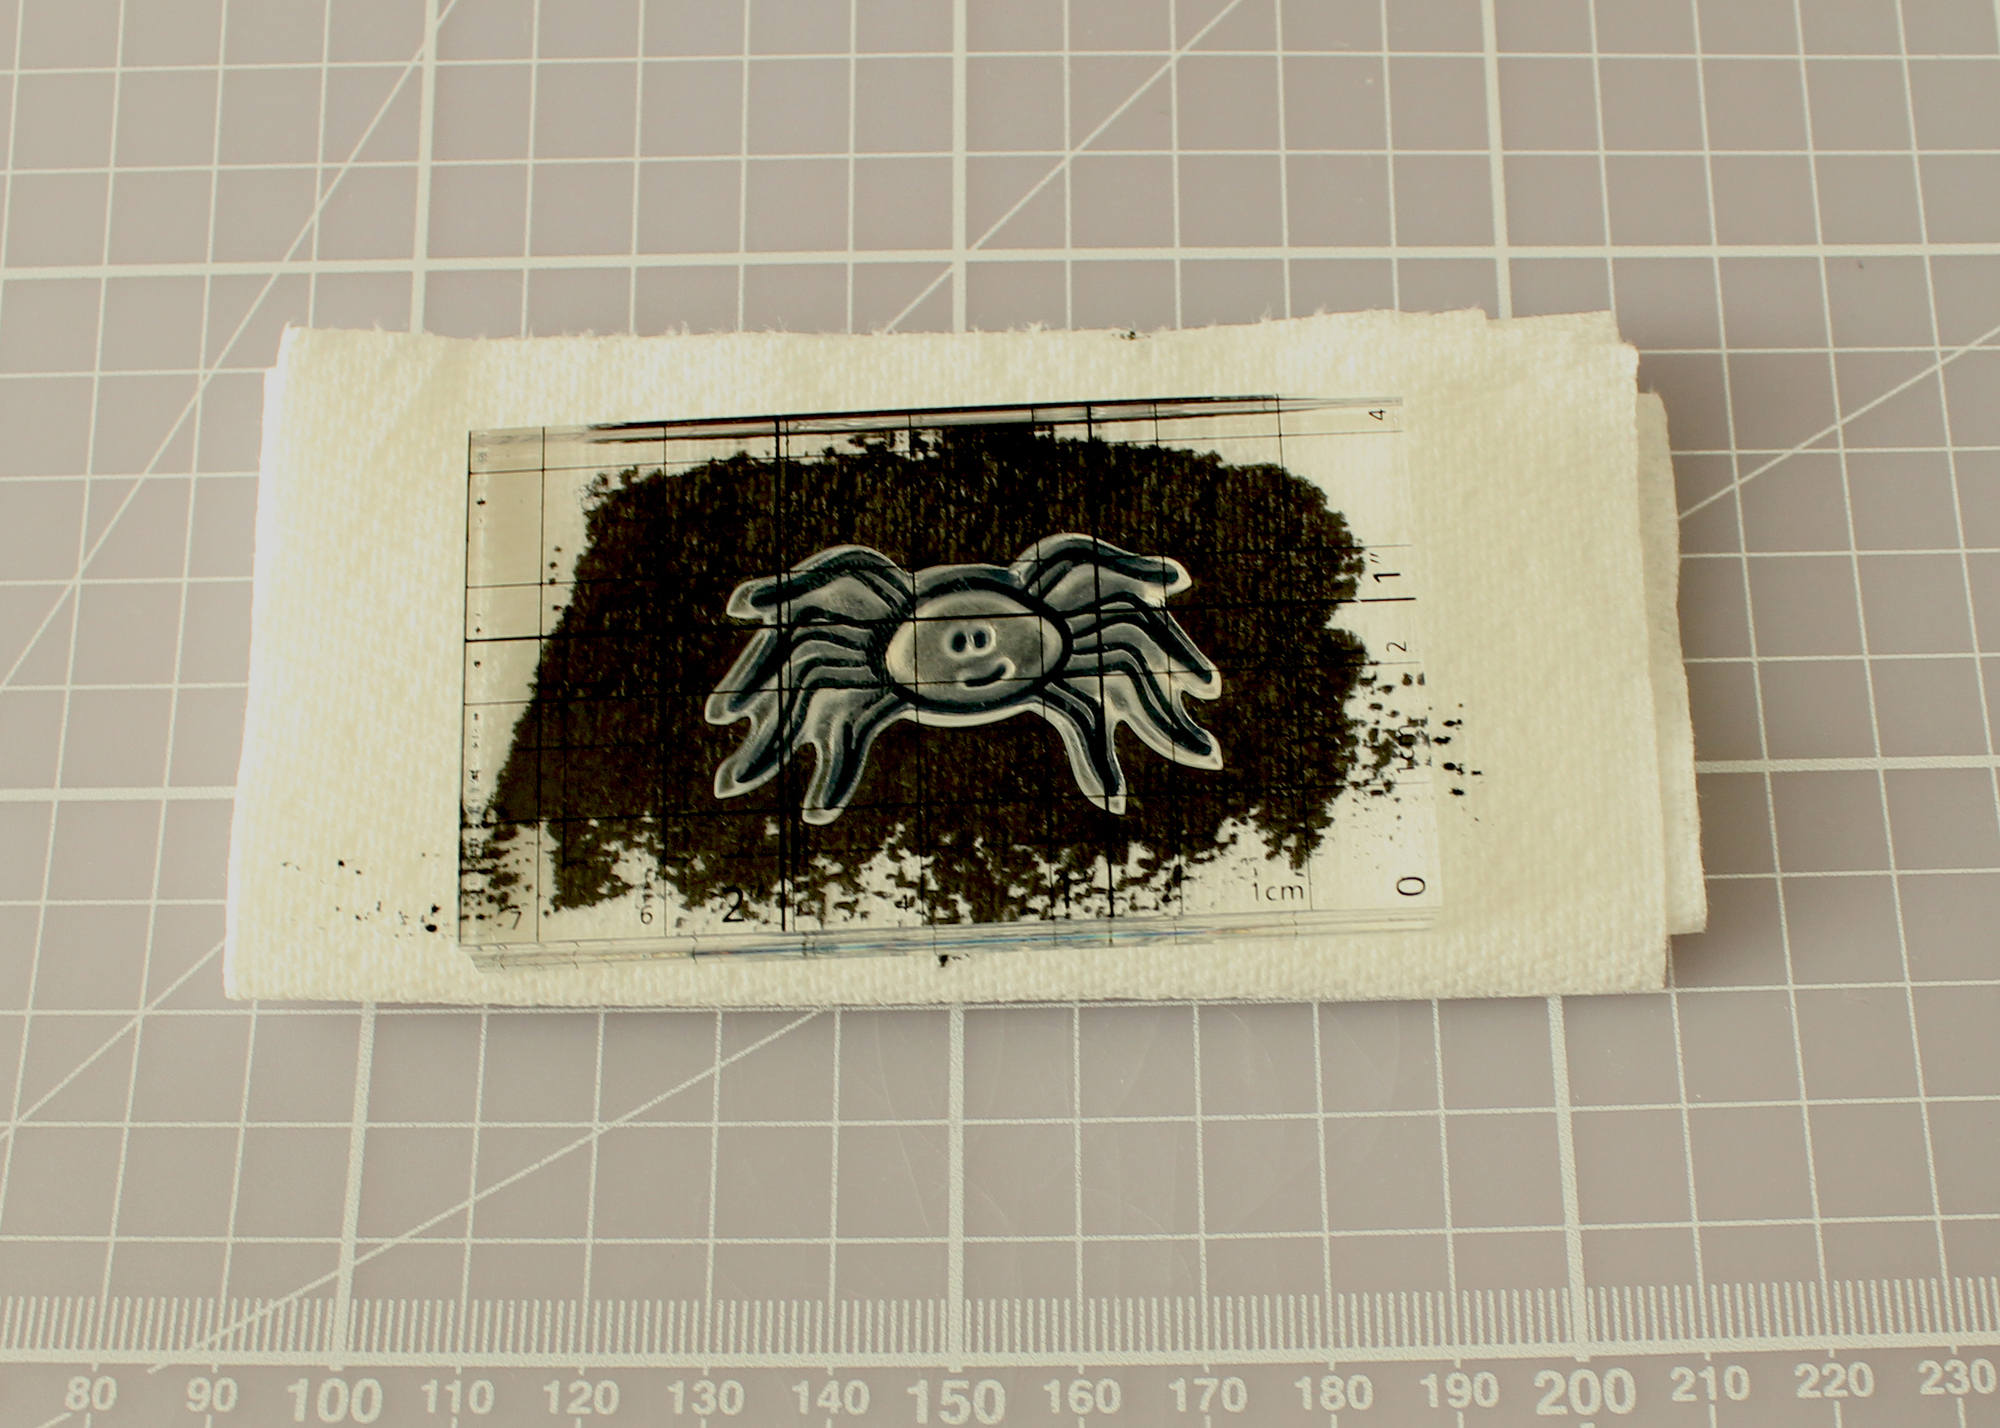
    Step six:
    Take your desired stamp and press into the colouring, making sure the stamp is completely covered with the black paste.
    Spider Cupcakes Tutorial 7

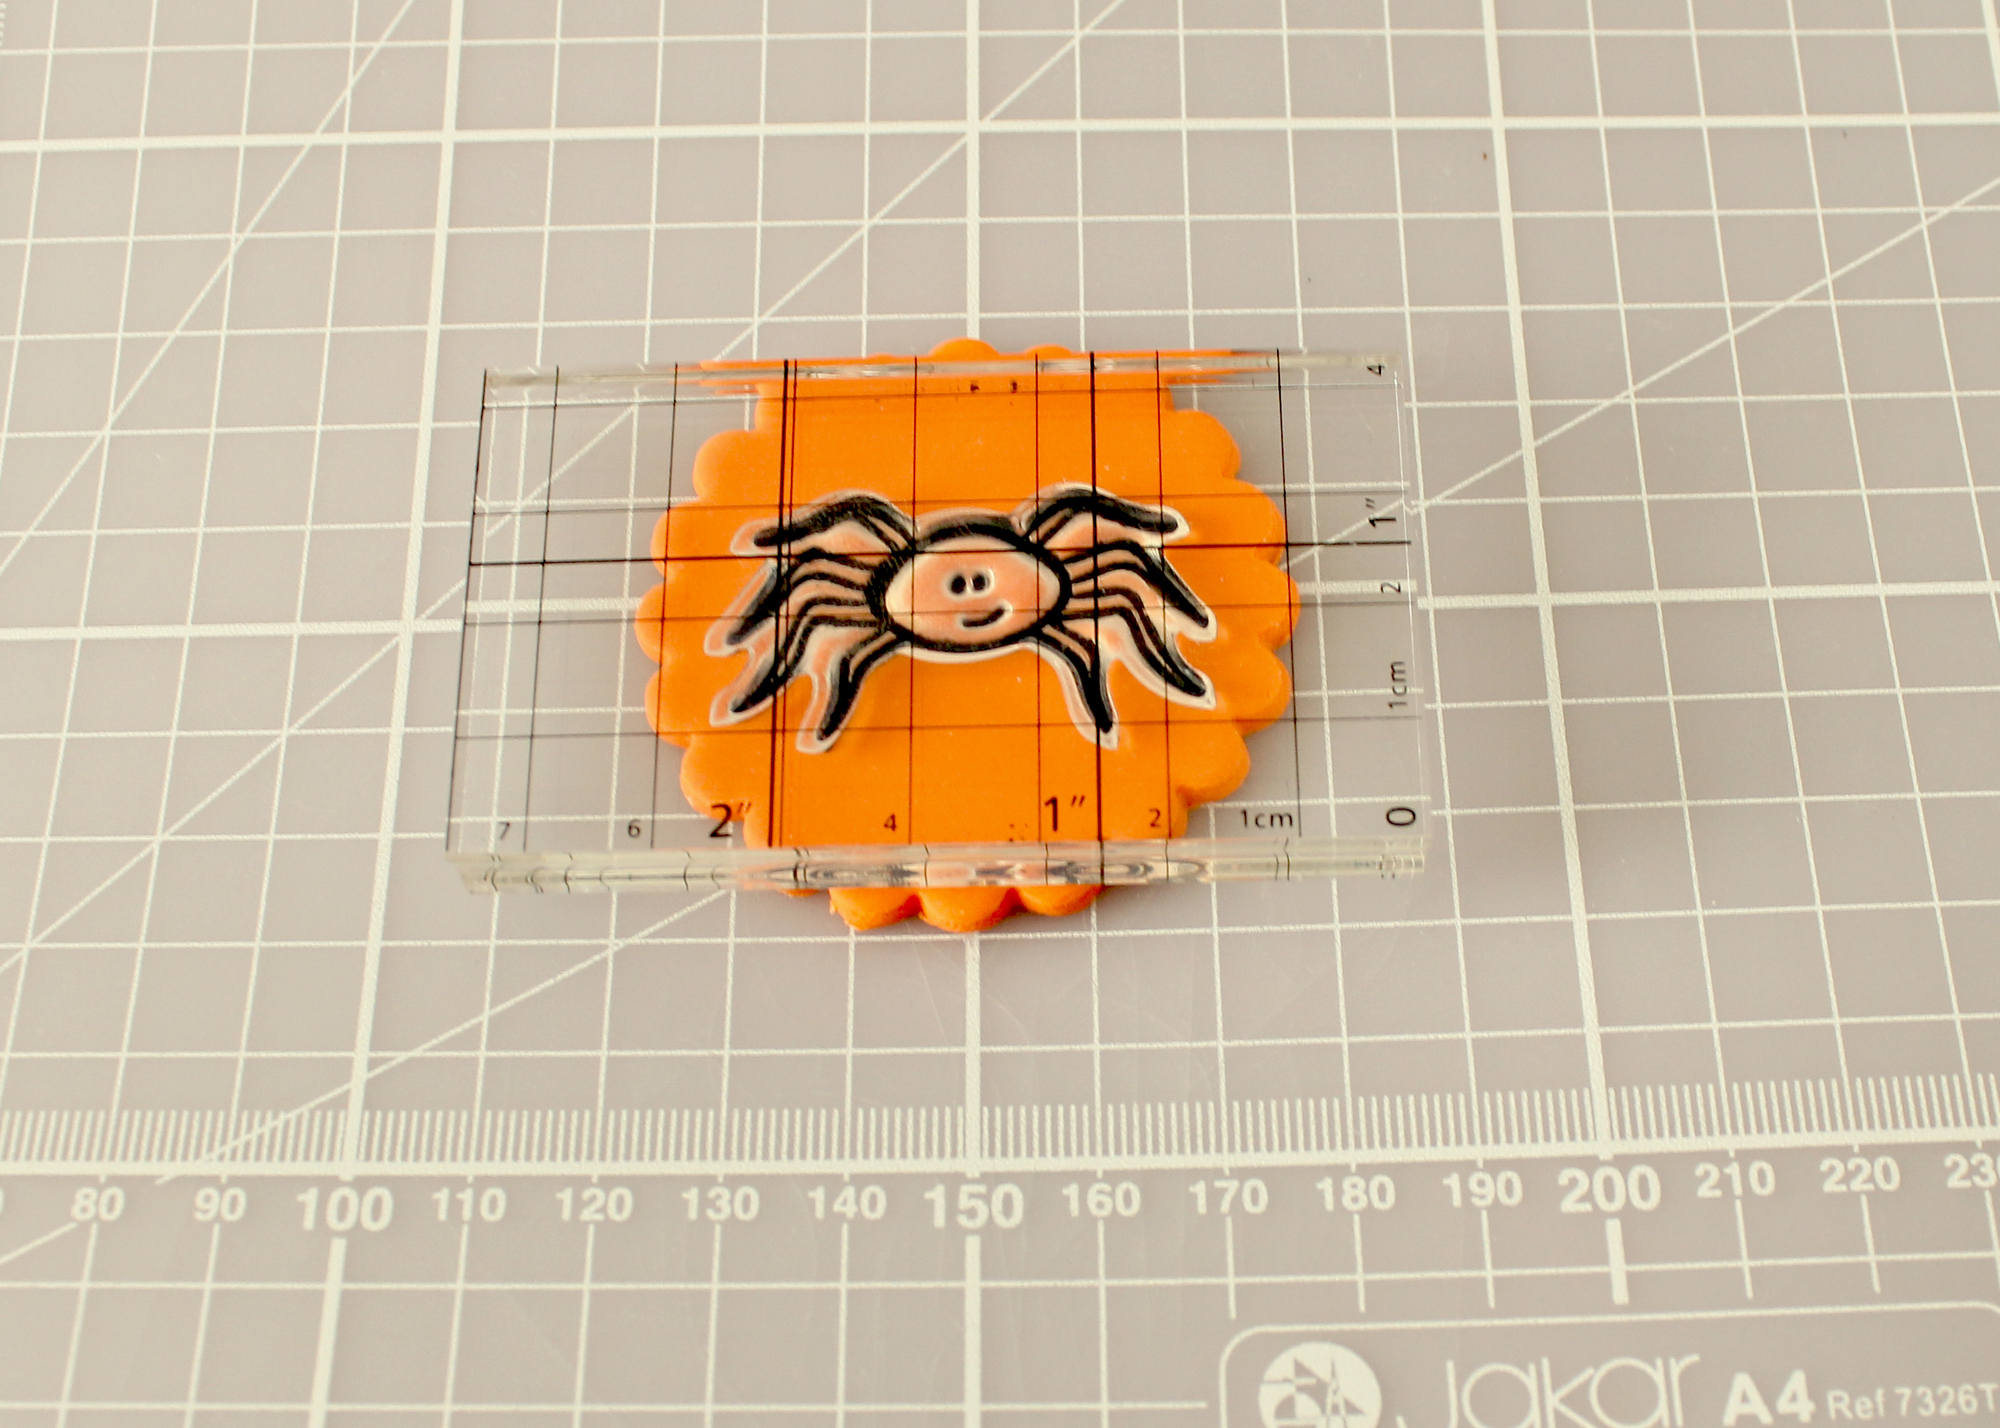
    Step seven:
    Place the stamp in the centre of the fondant circle and gently press, making sure you use even pressure.
    Spider Cupcakes Tutorial 8

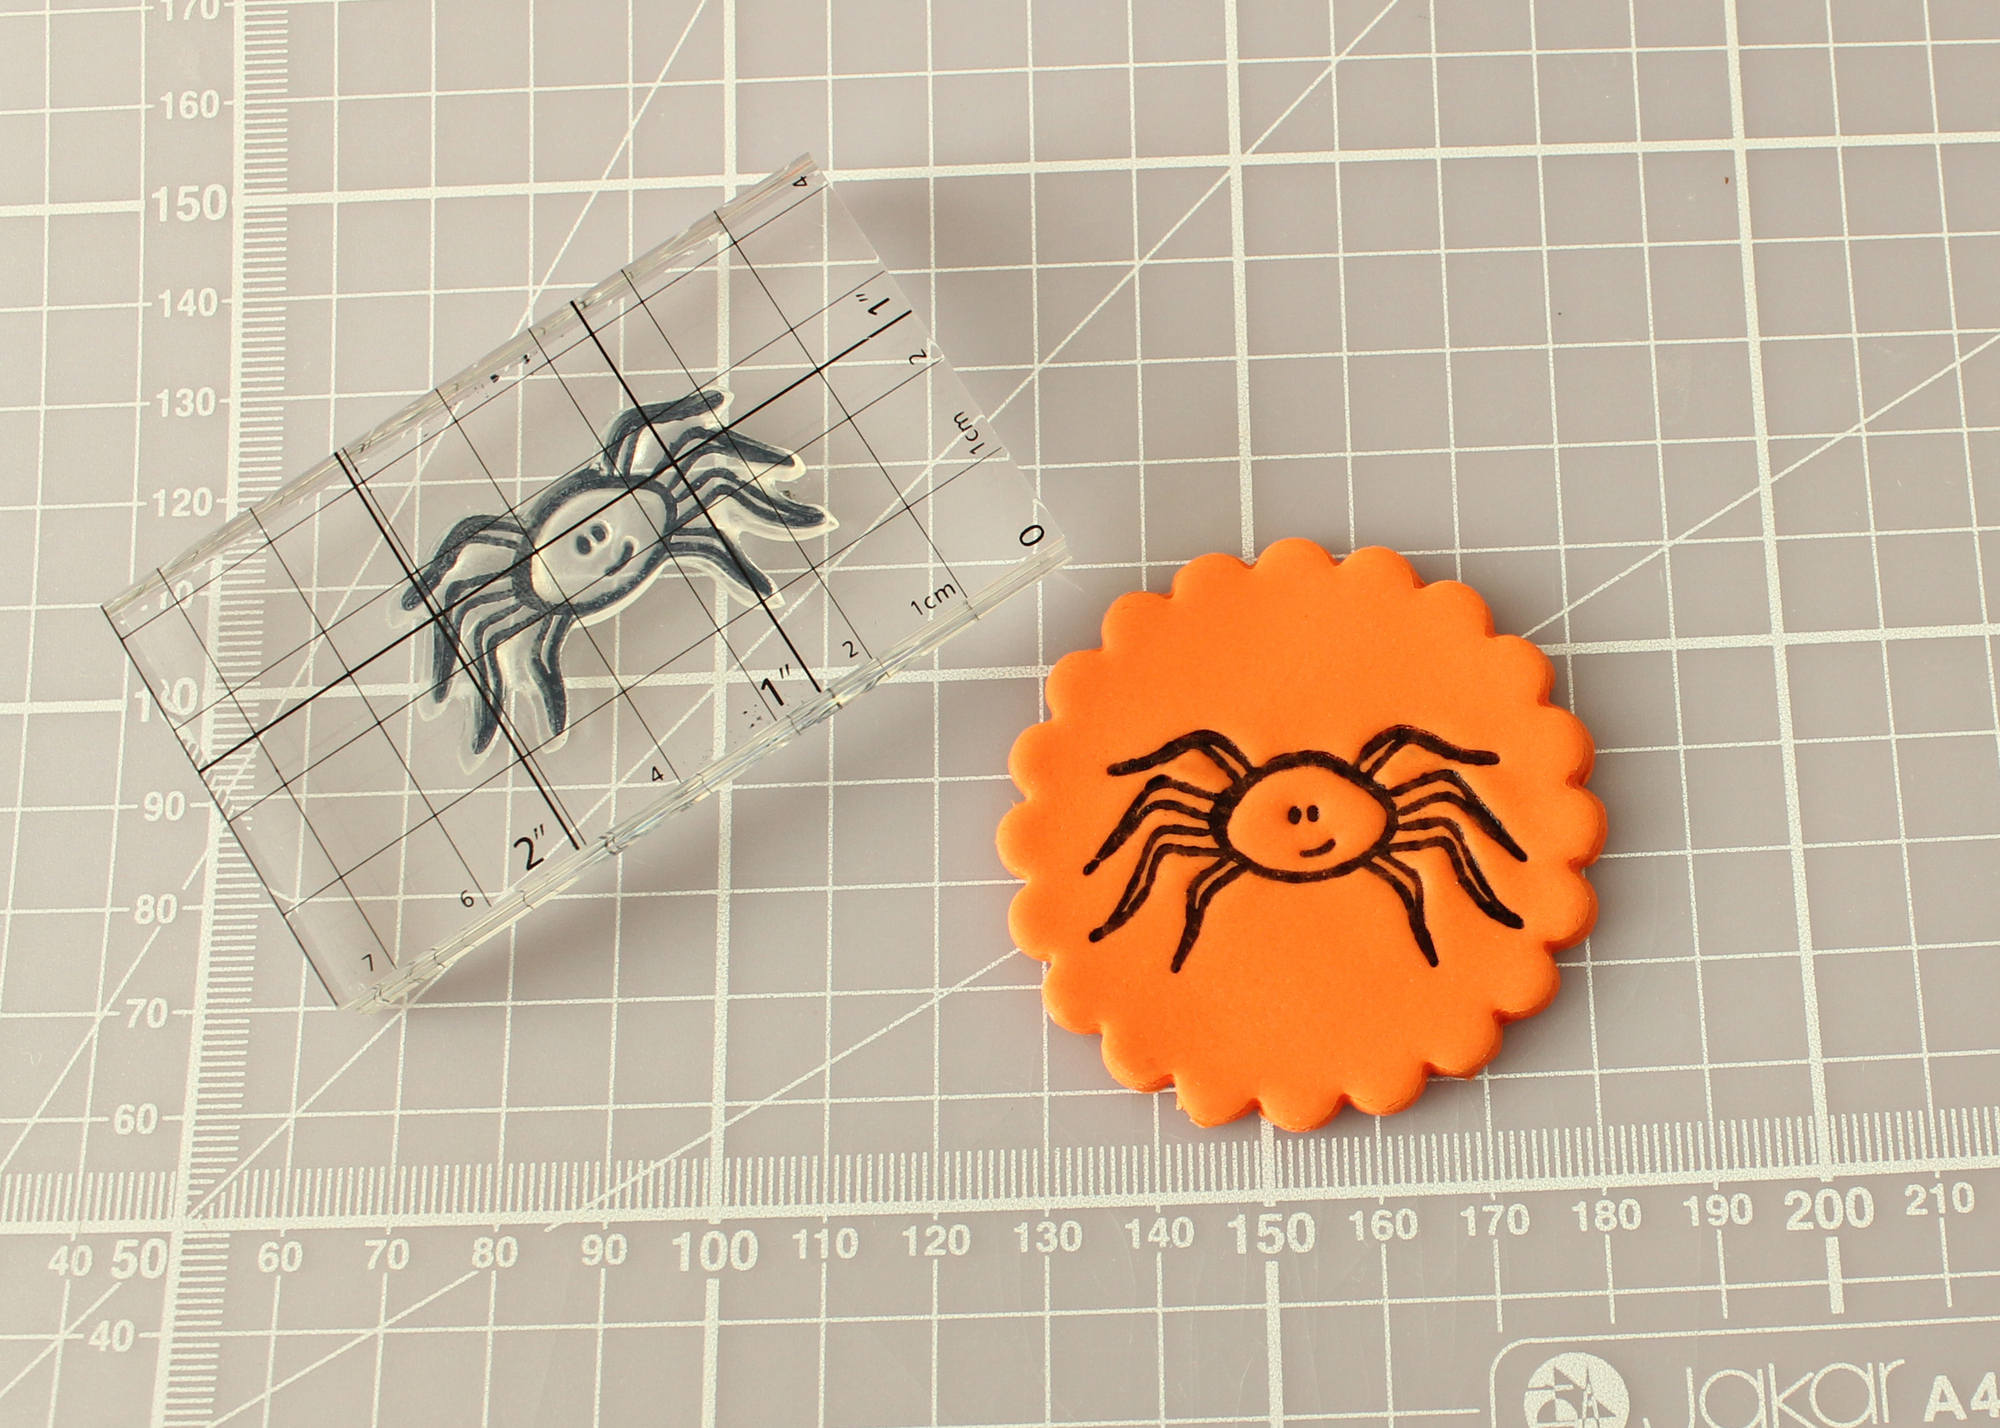
    Step eight:
    Remove the stamp to see the image.
    Spider Cupcakes Tutorial 9

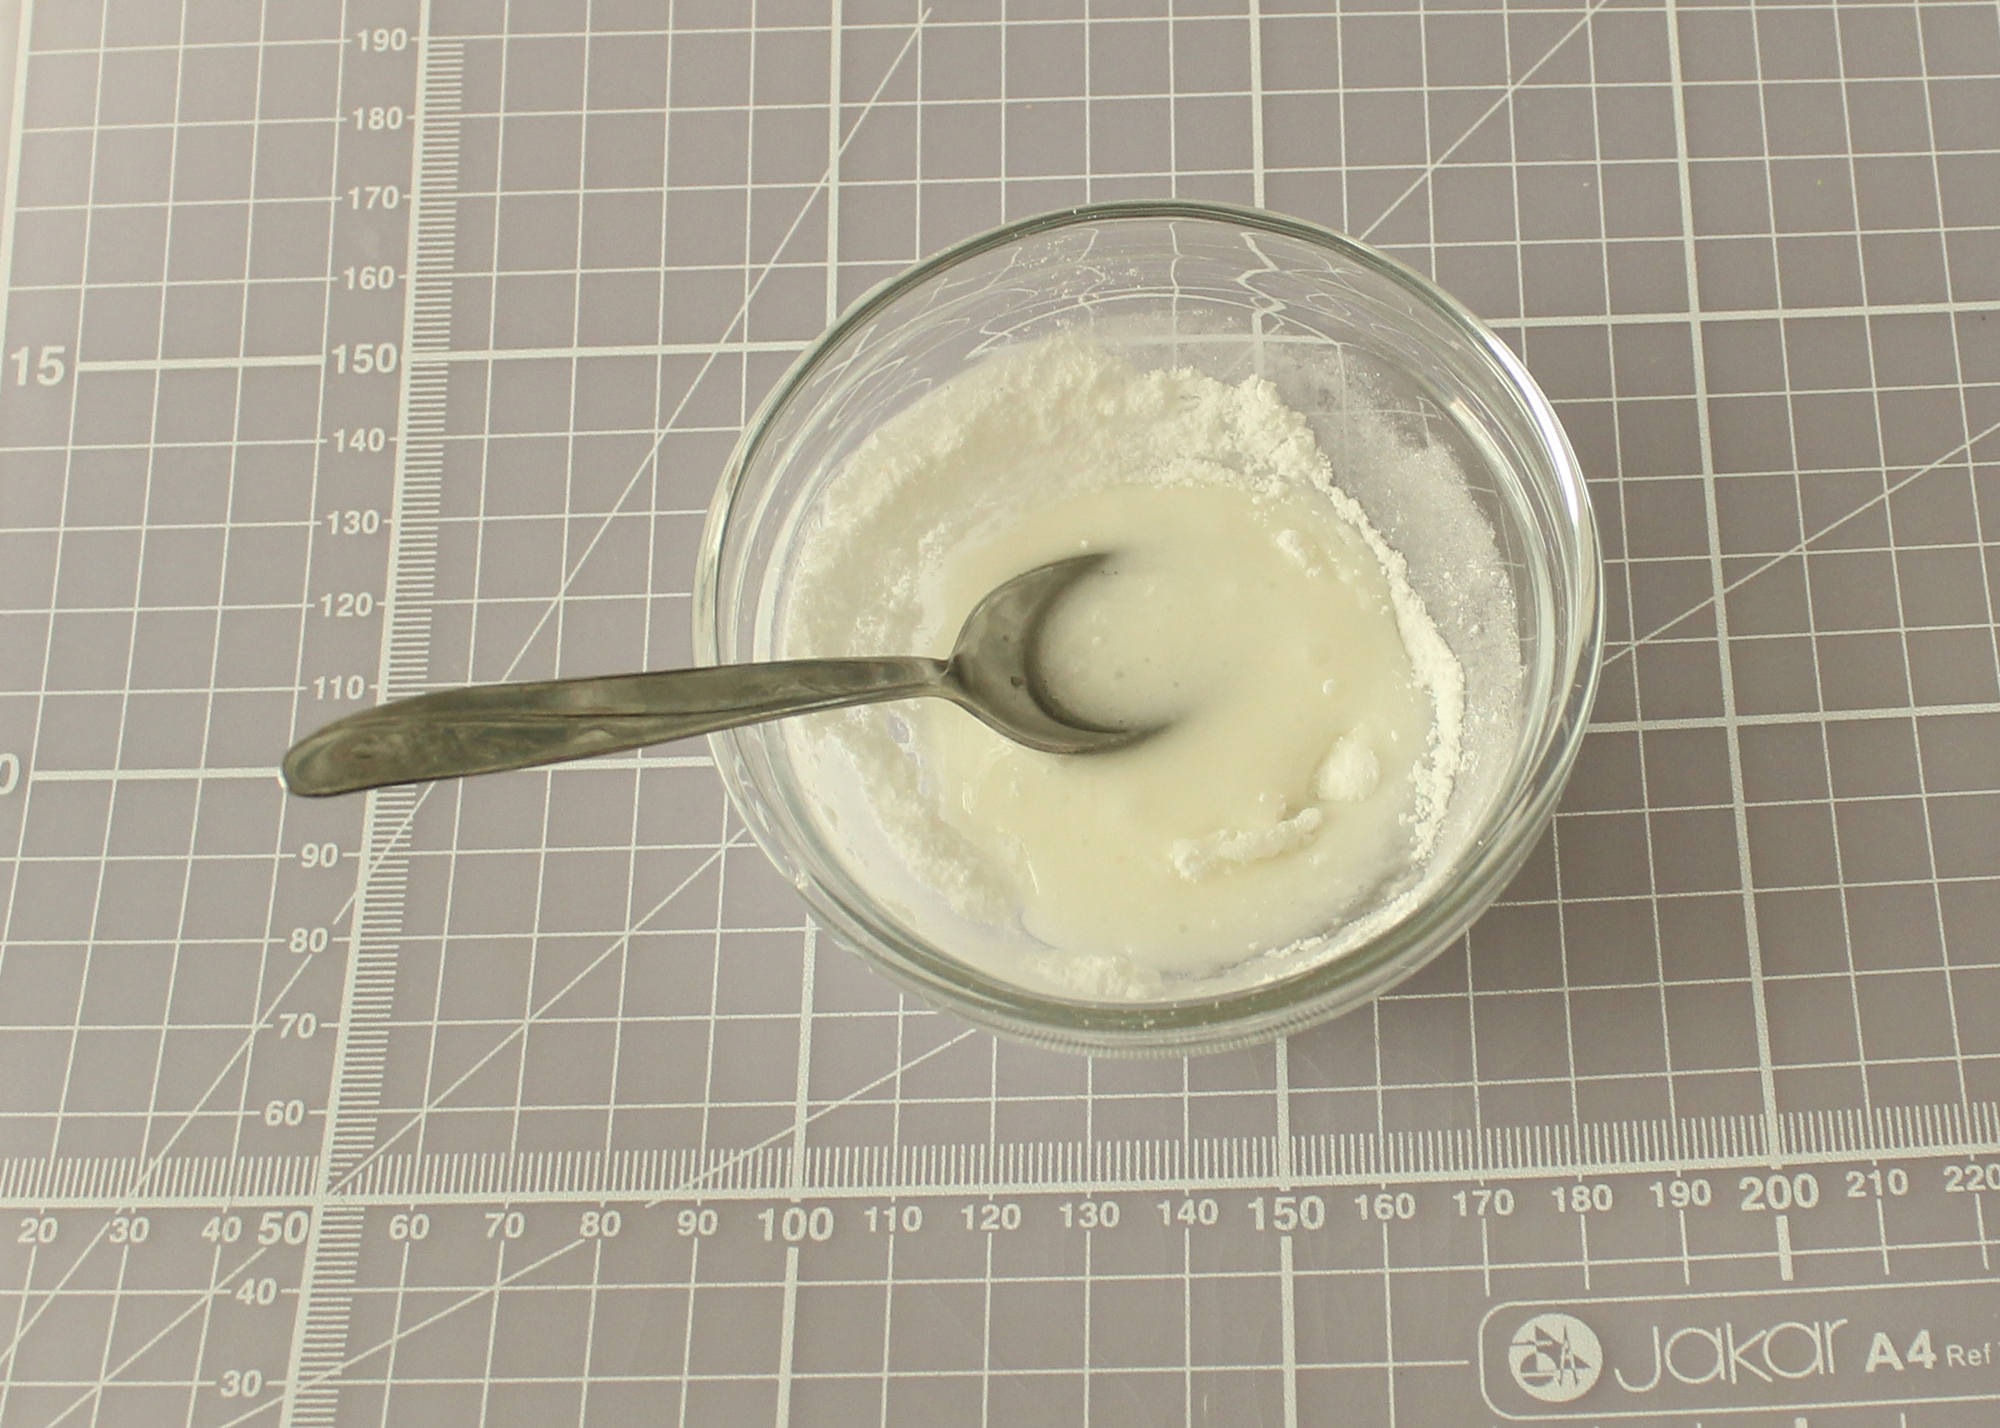
    Step nine:
    Mix some royal icing powder and water in a bowl and place to one side.
    Spider Cupcakes Tutorial 11

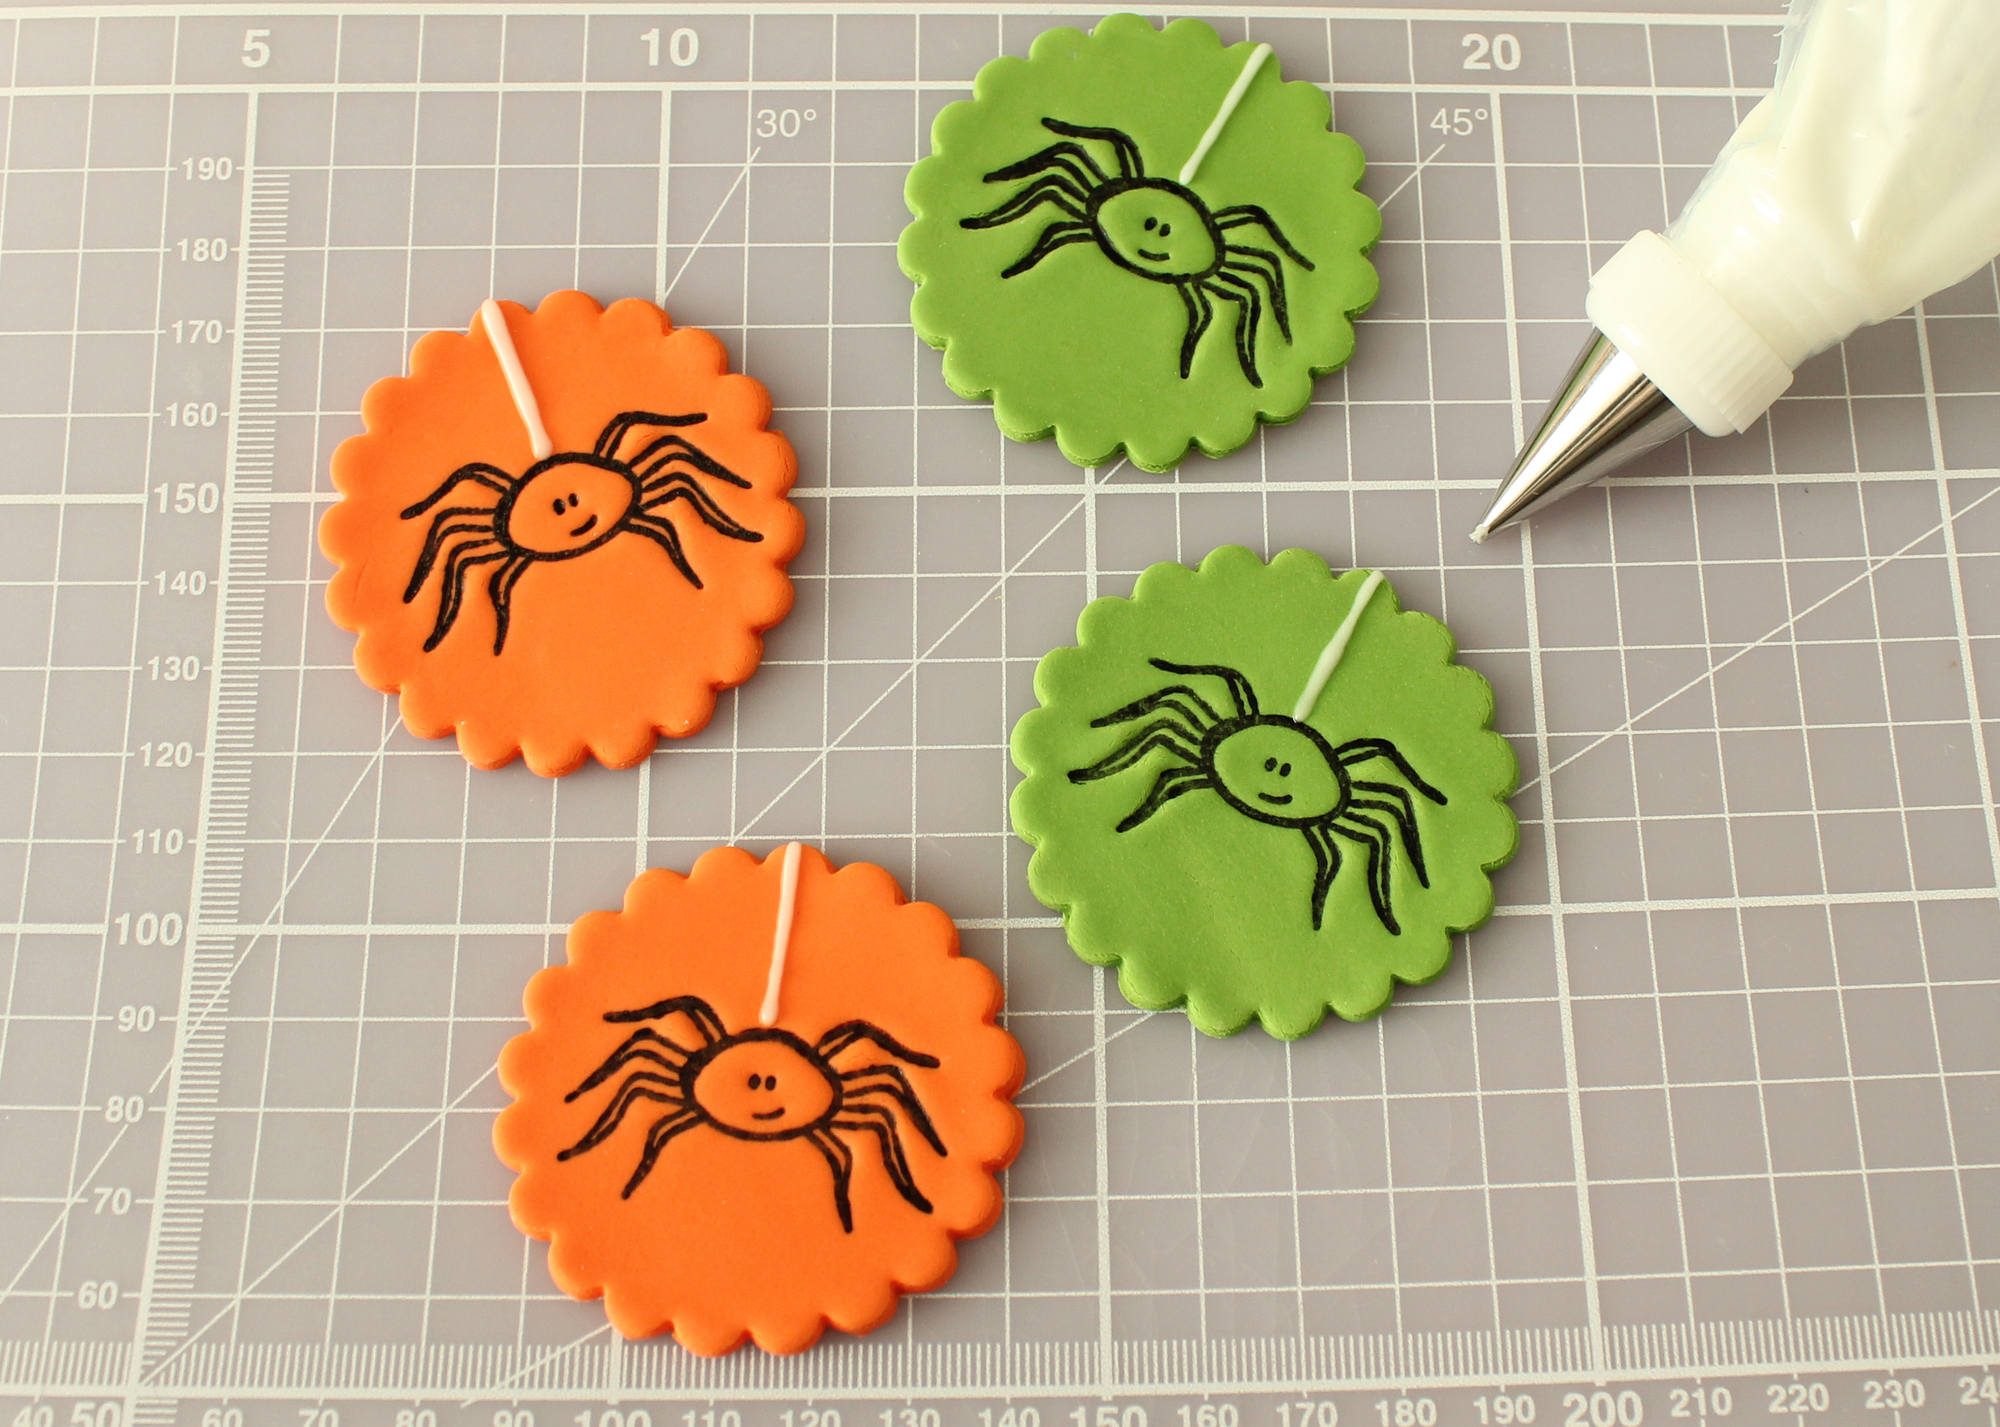
    Step ten:
    Pipe a single line of royal icing above the spider.
    Spider Cupcakes Tutorial 12

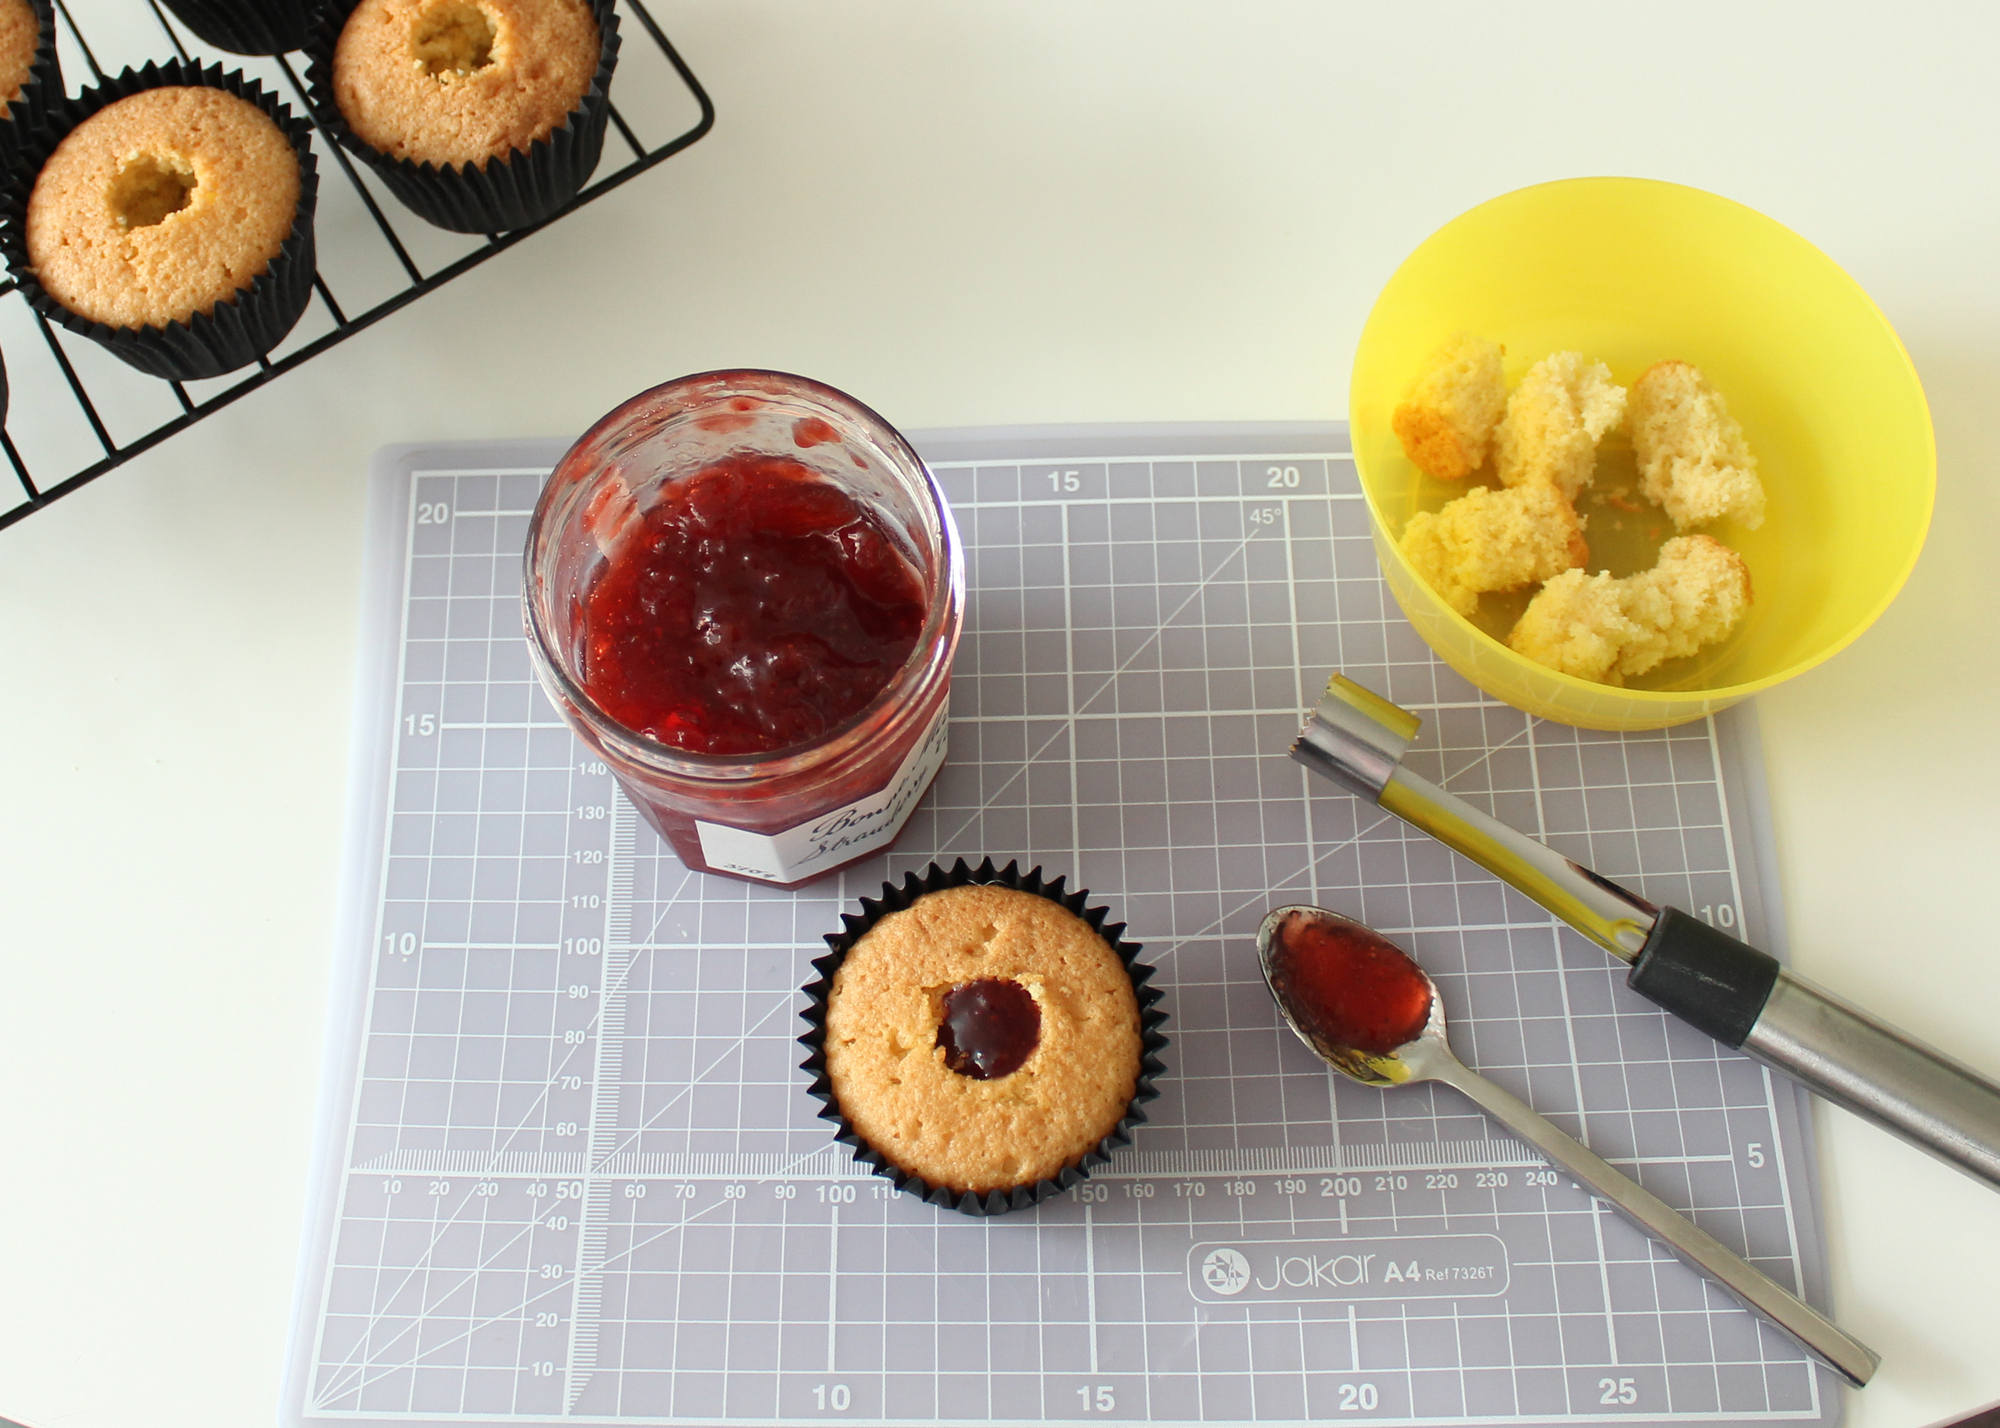
    Step eleven:
    Cut a hole in the centre of the cupcakes and fill with jam.
    Spider Cupcakes Tutorial 13

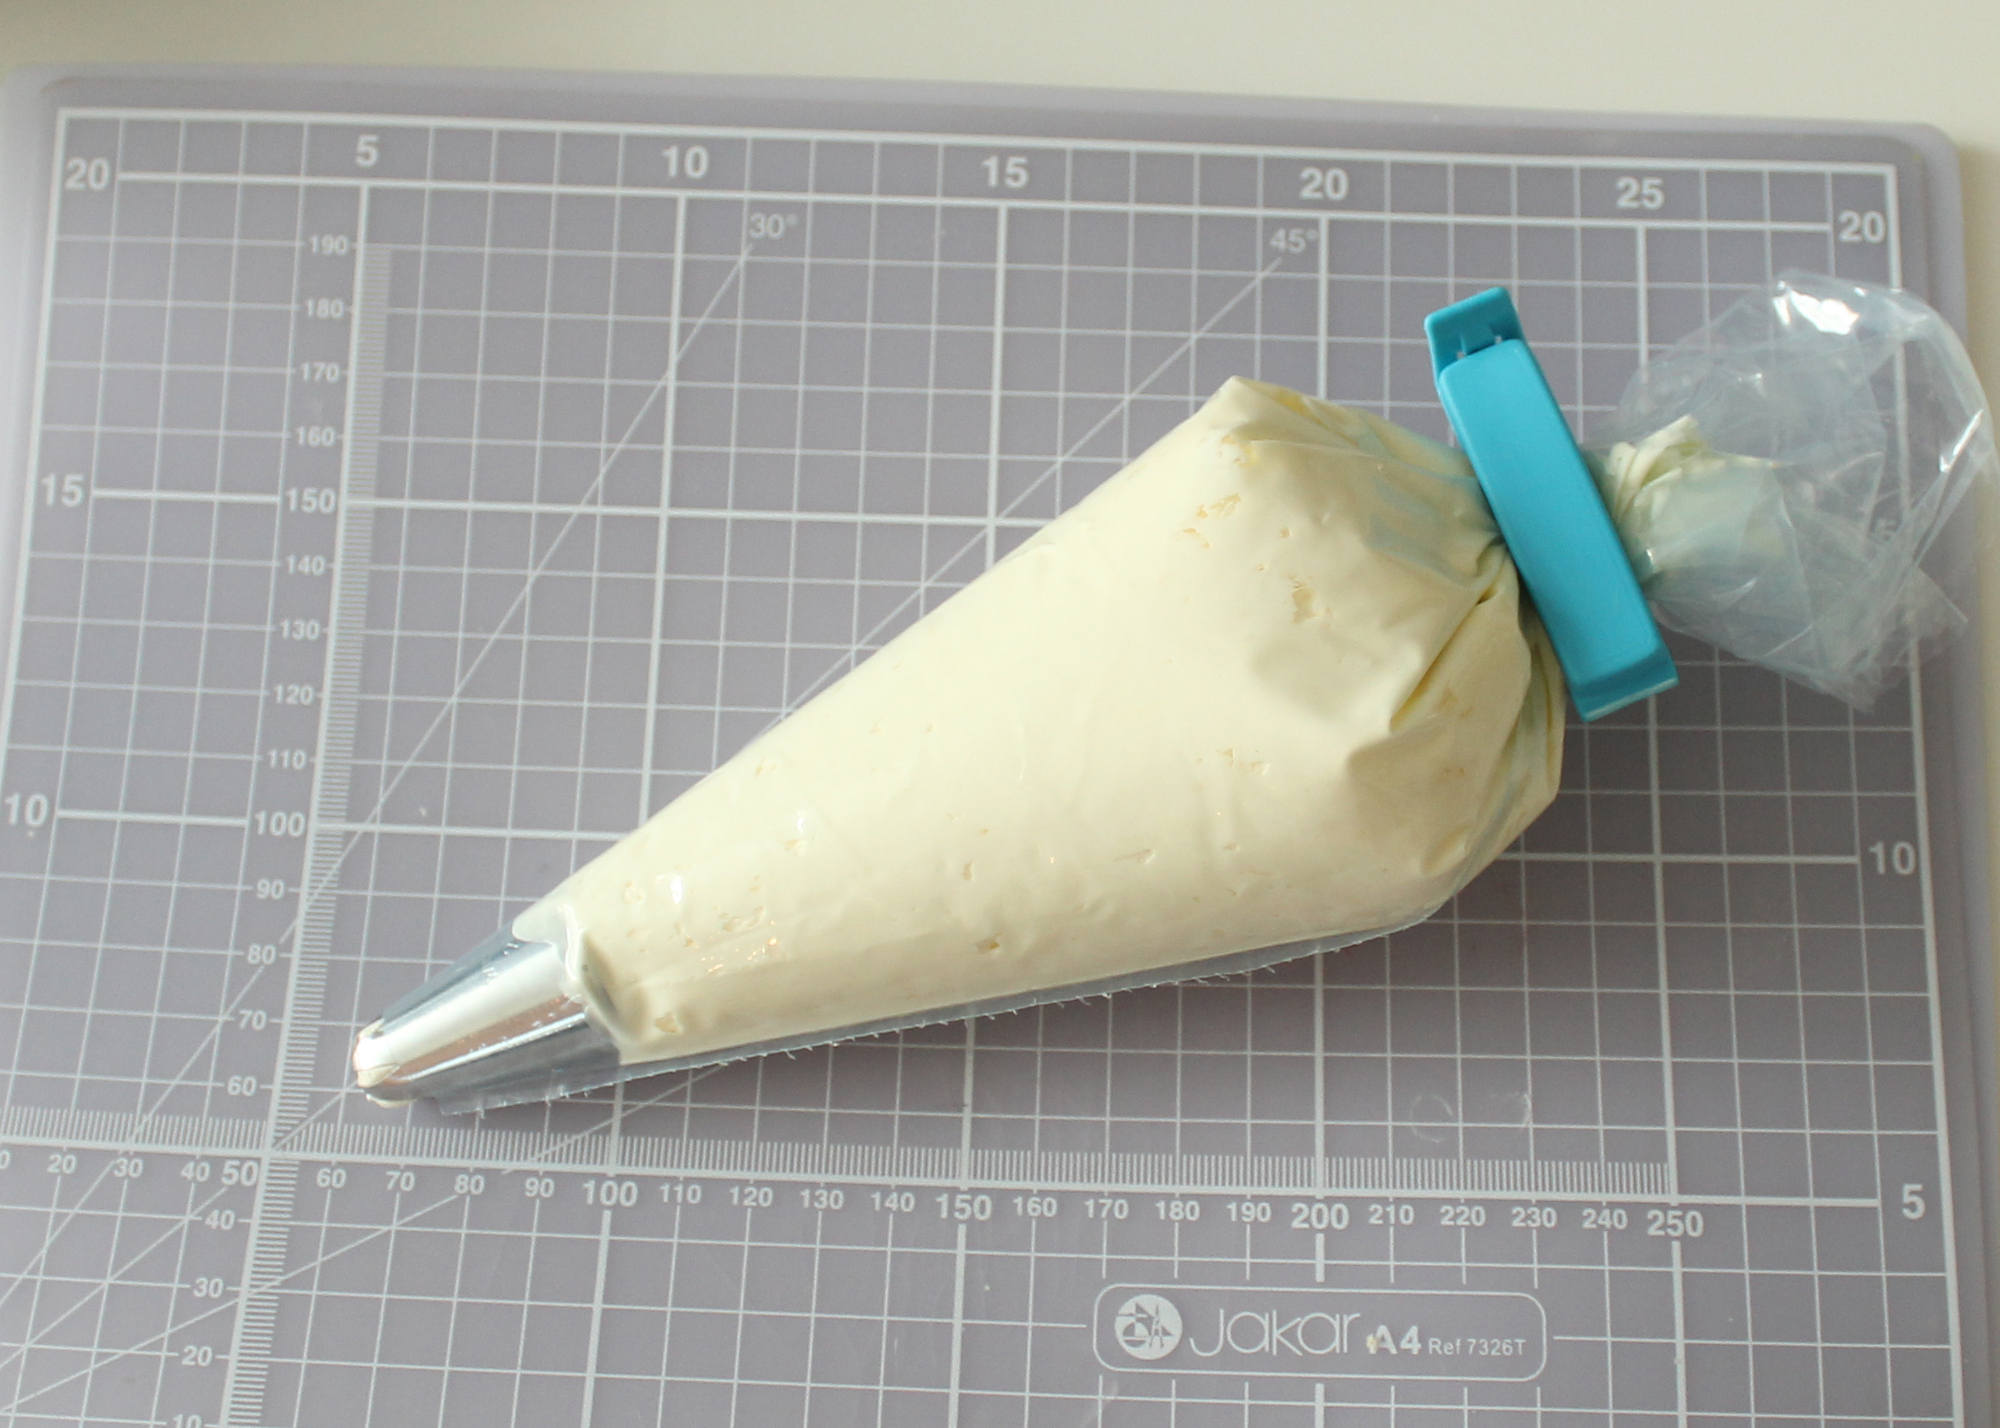
    Step twelve:
    Make some basic buttercream and fill a piping bag.
    Spider Cupcakes Tutorial 14

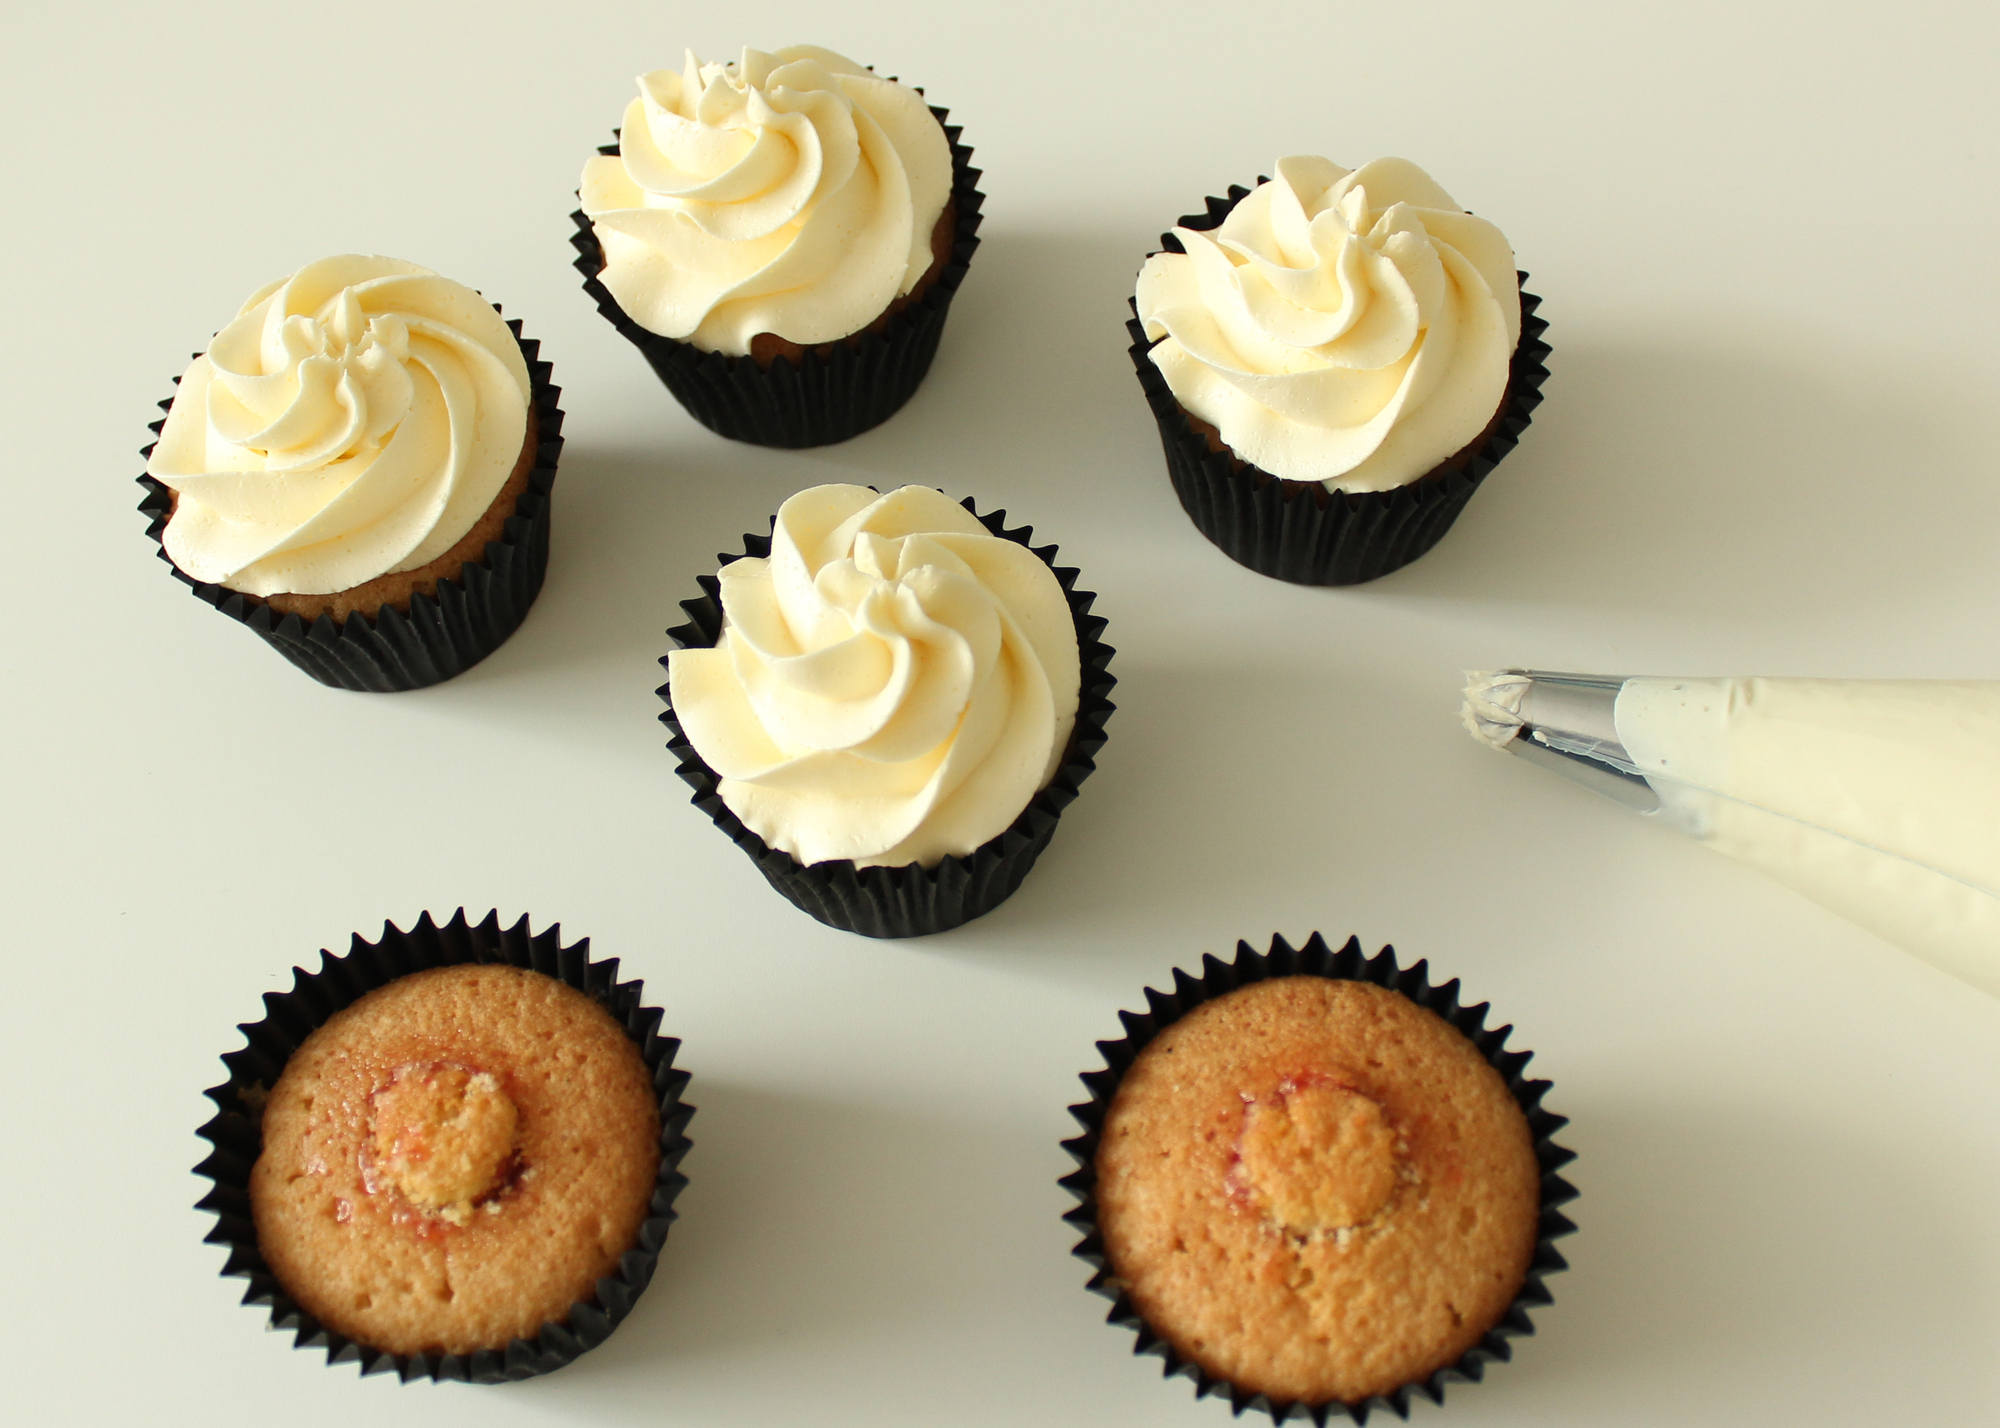
    Step thirteen:
    Create a swirl using an open star nozzle.
    Spider Cupcakes Tutorial 15

    Step fourteen:
    Place the decorated circle on top of the cup cake.
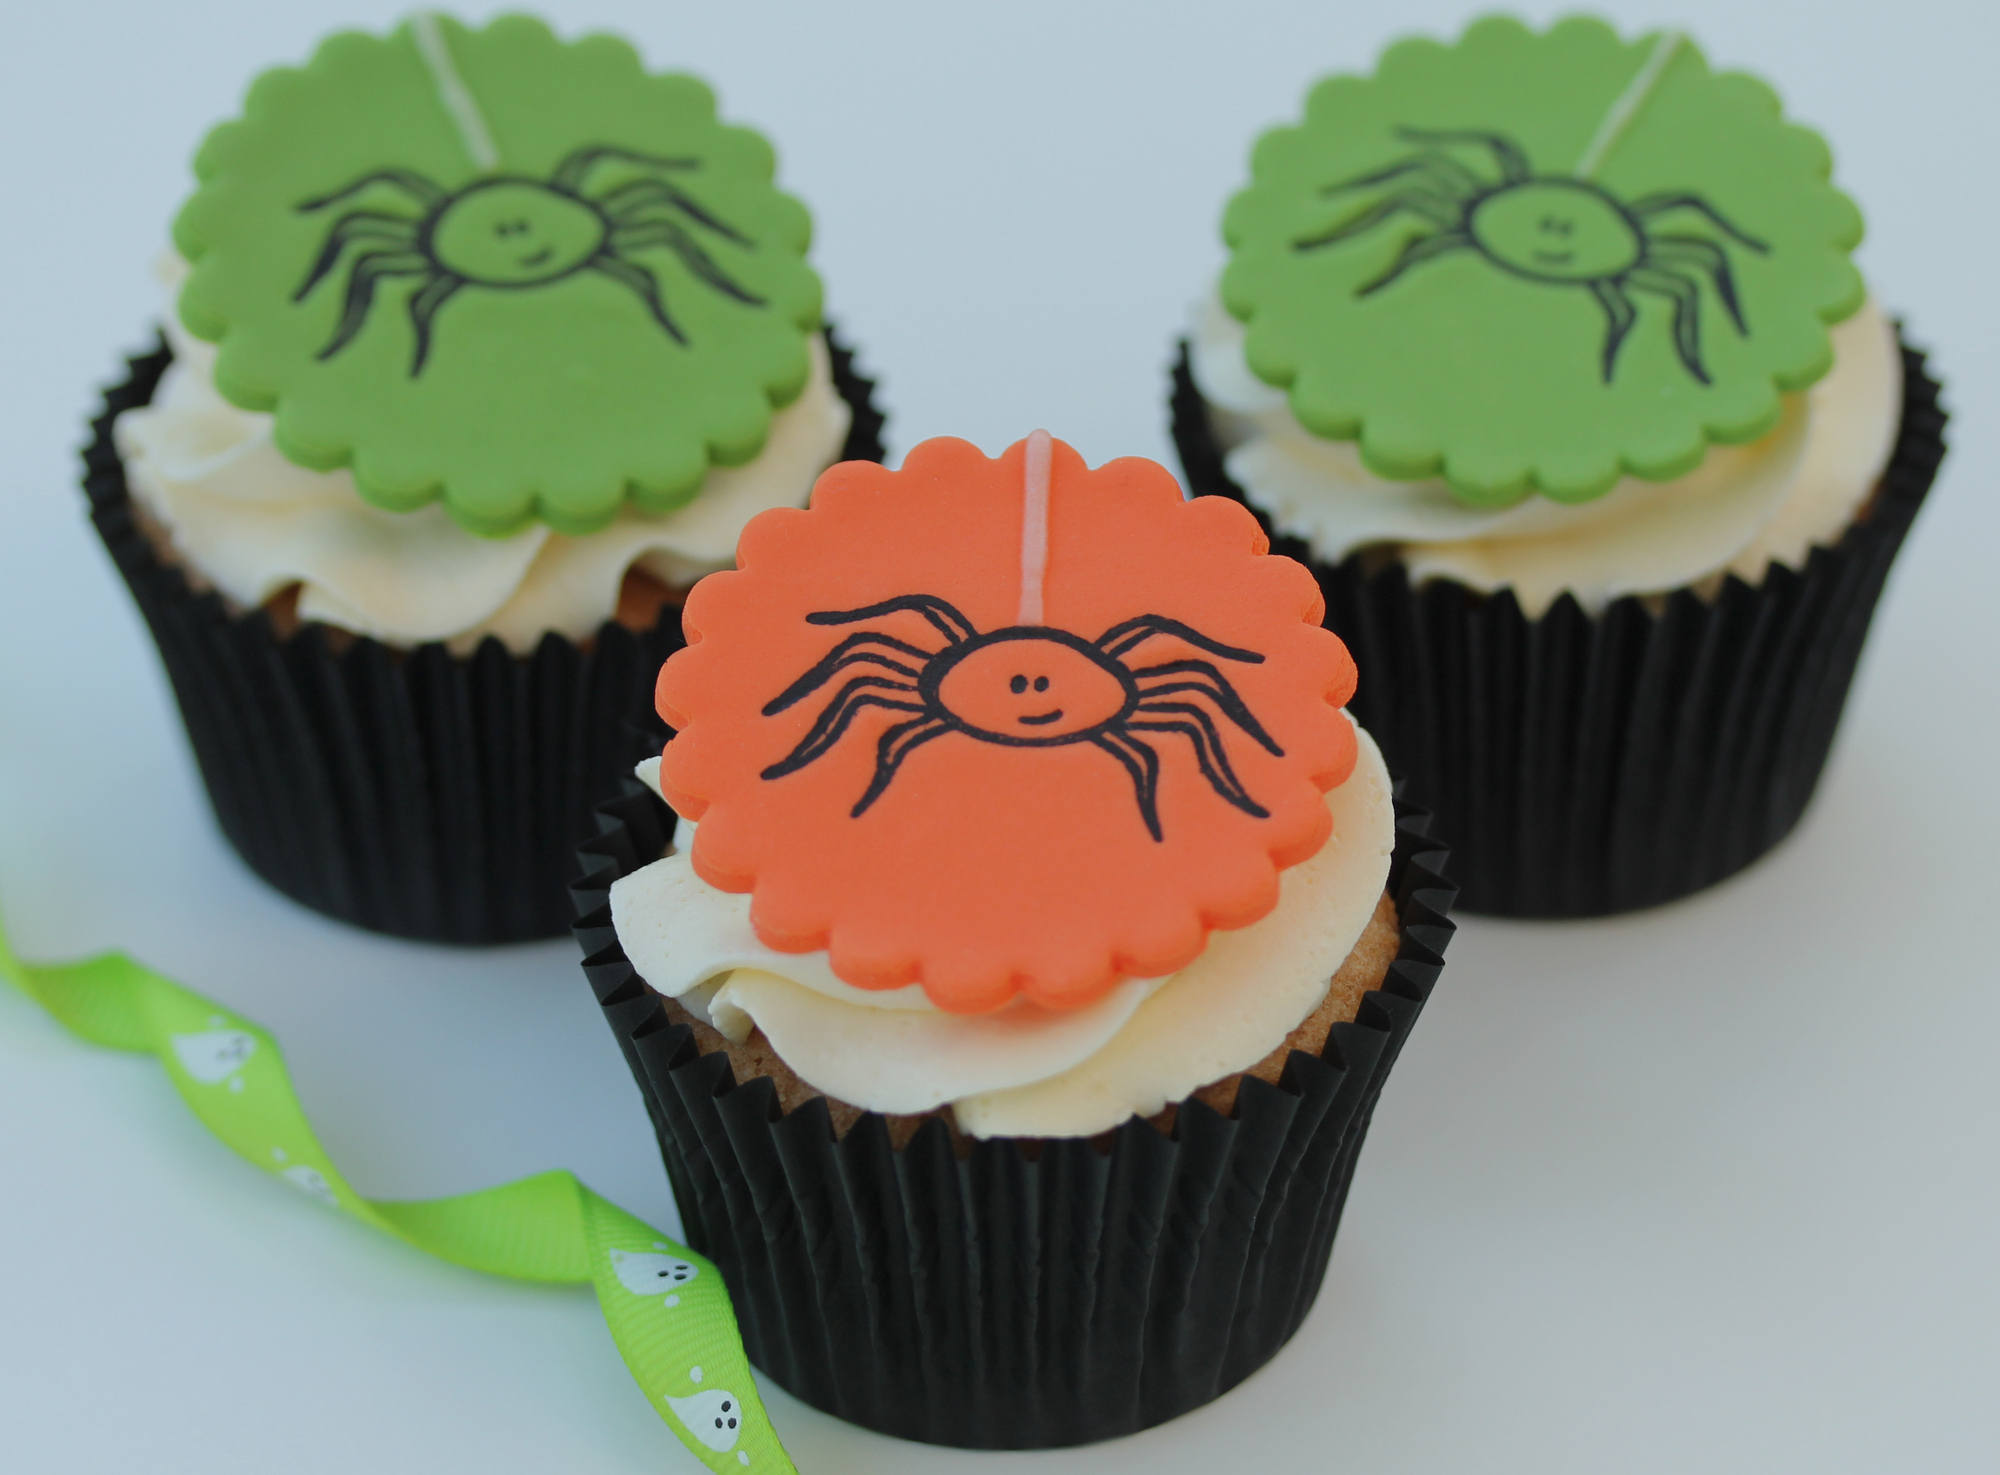
    Spider Cupcakes Final 1

    Step fifteen:
    Finish off the presentation by packaging the Halloween cupcakes in our printed spider cupcake boxes.
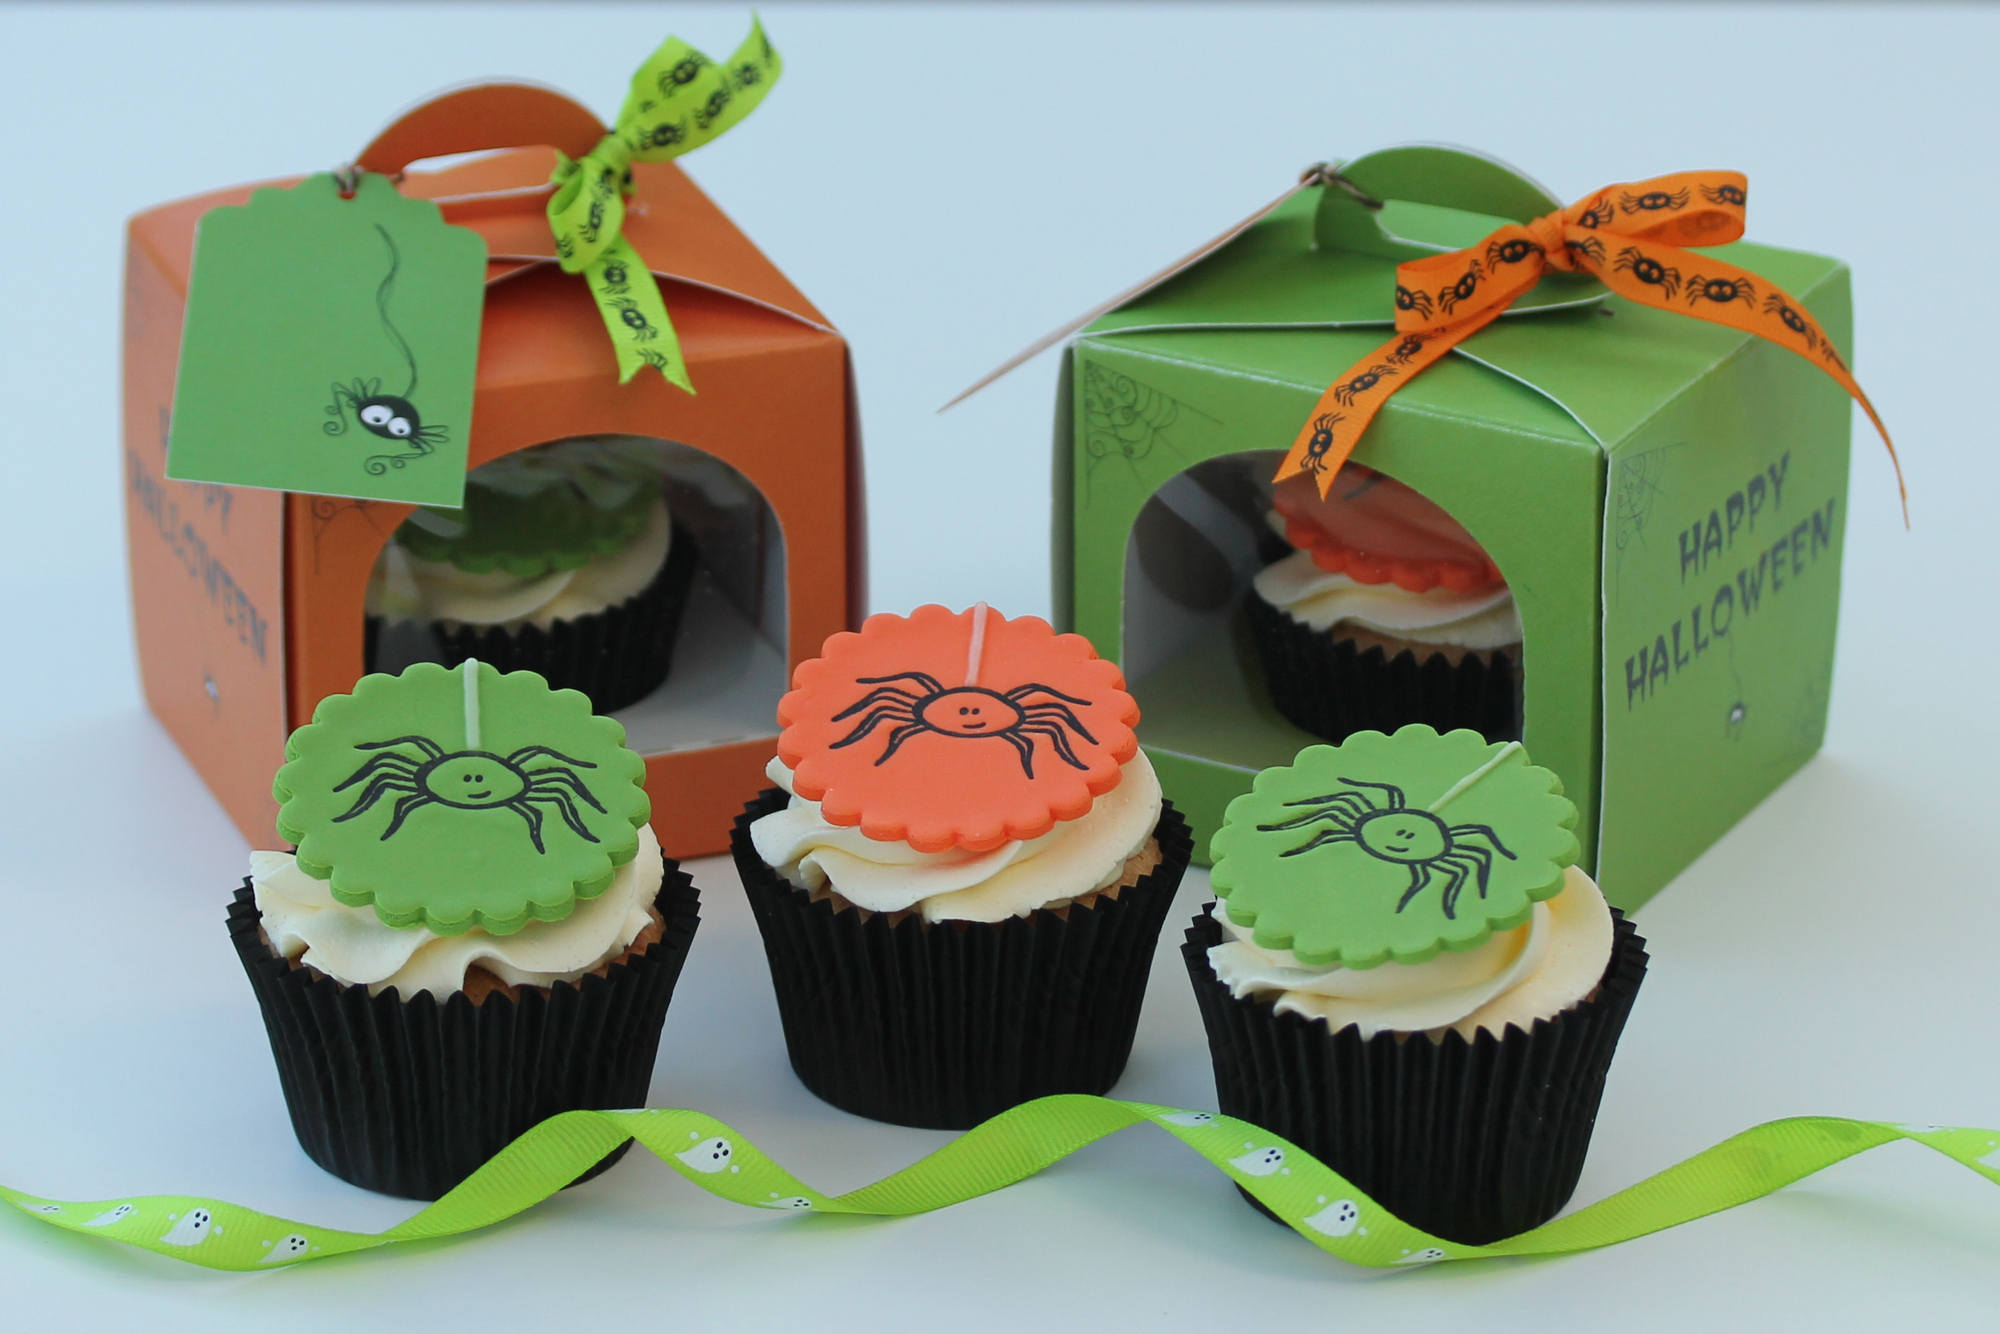
    Spider Cupcakes Final 3


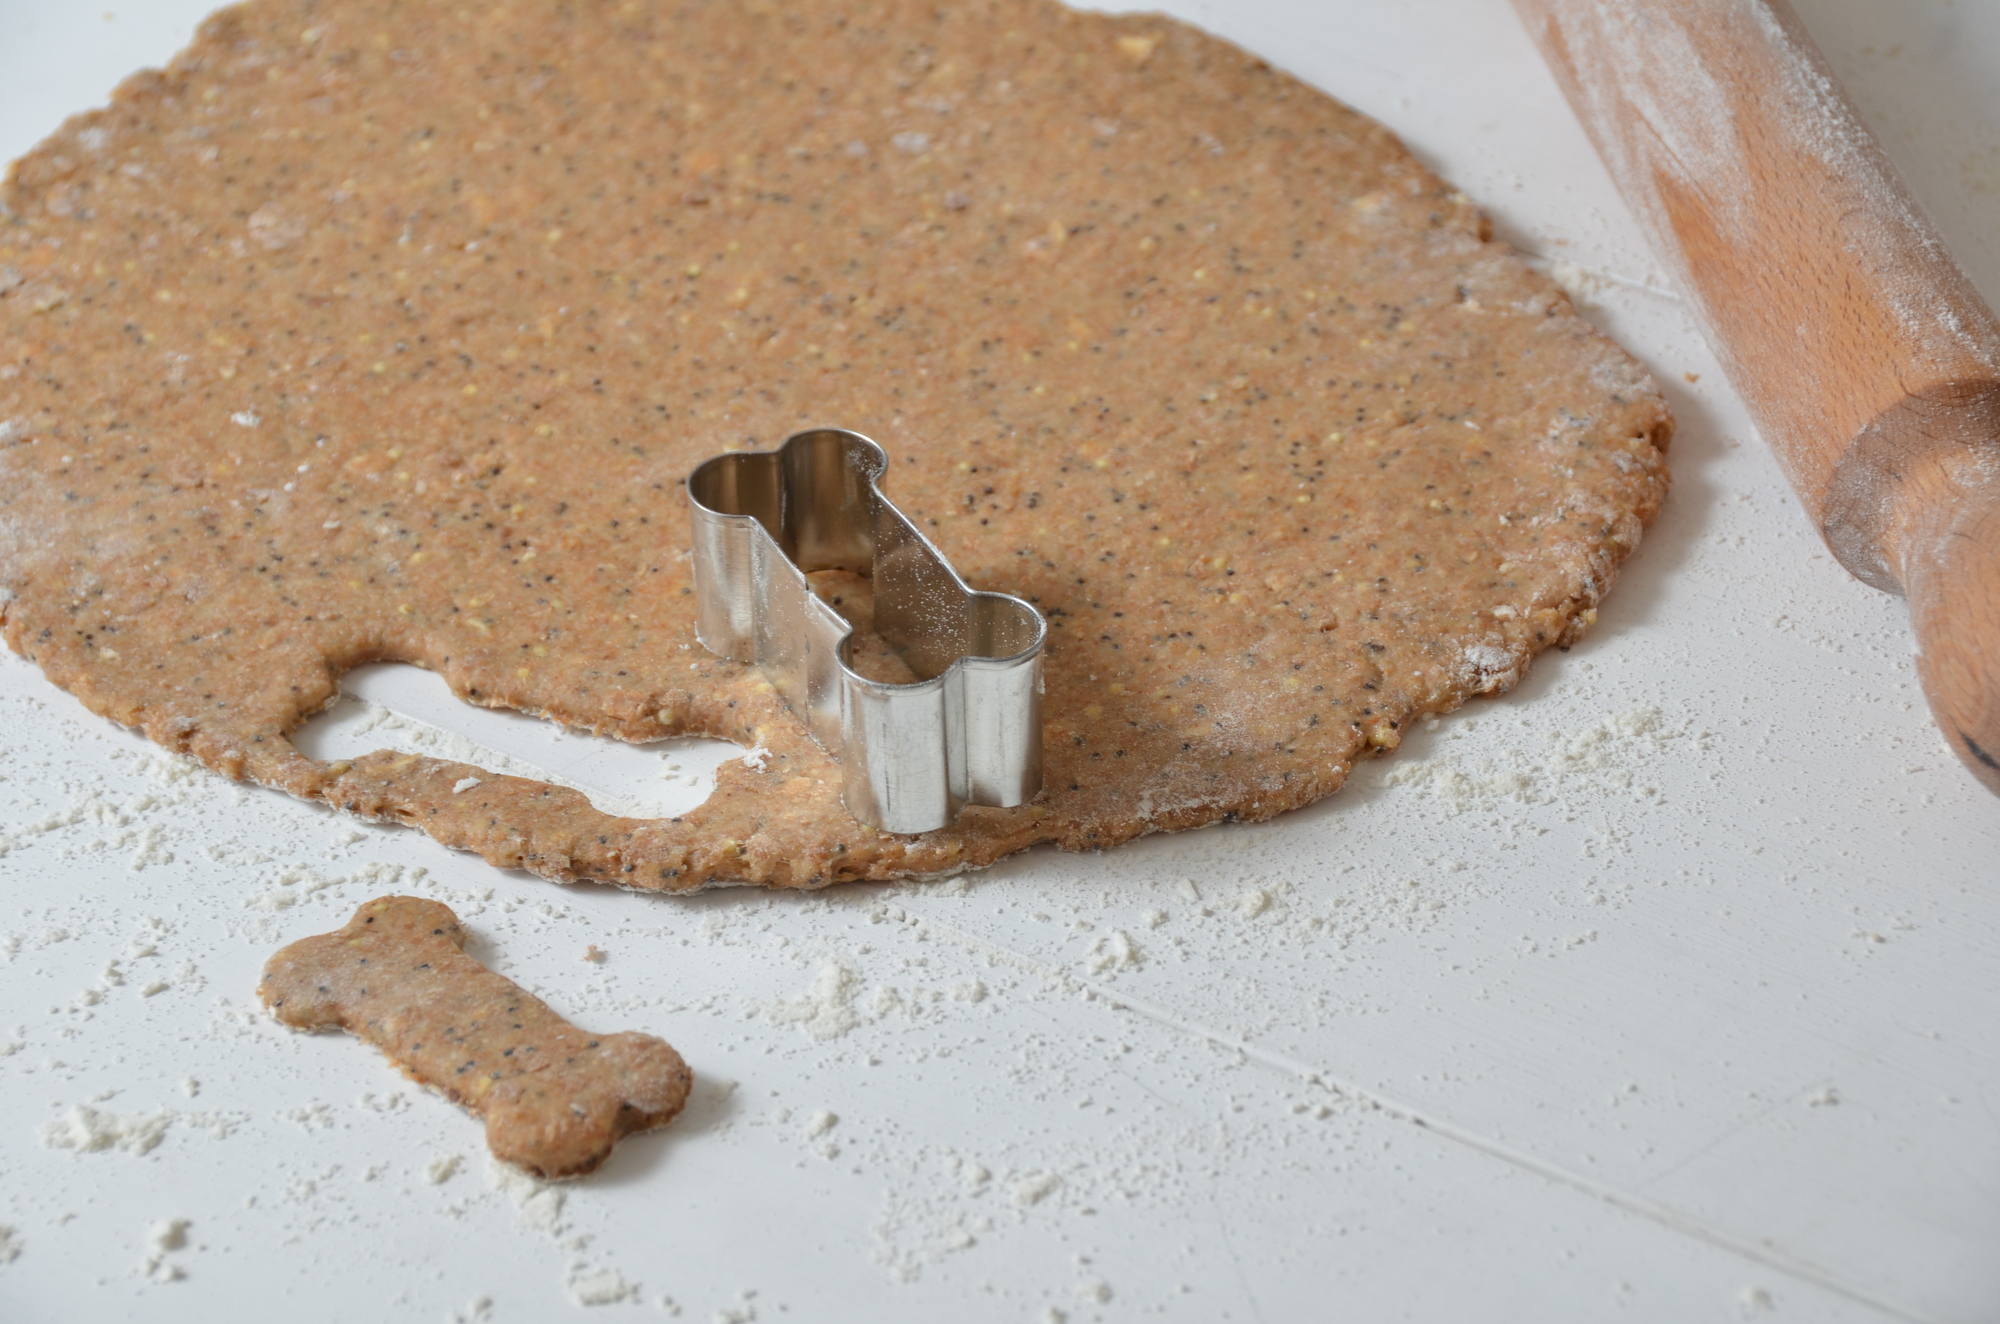
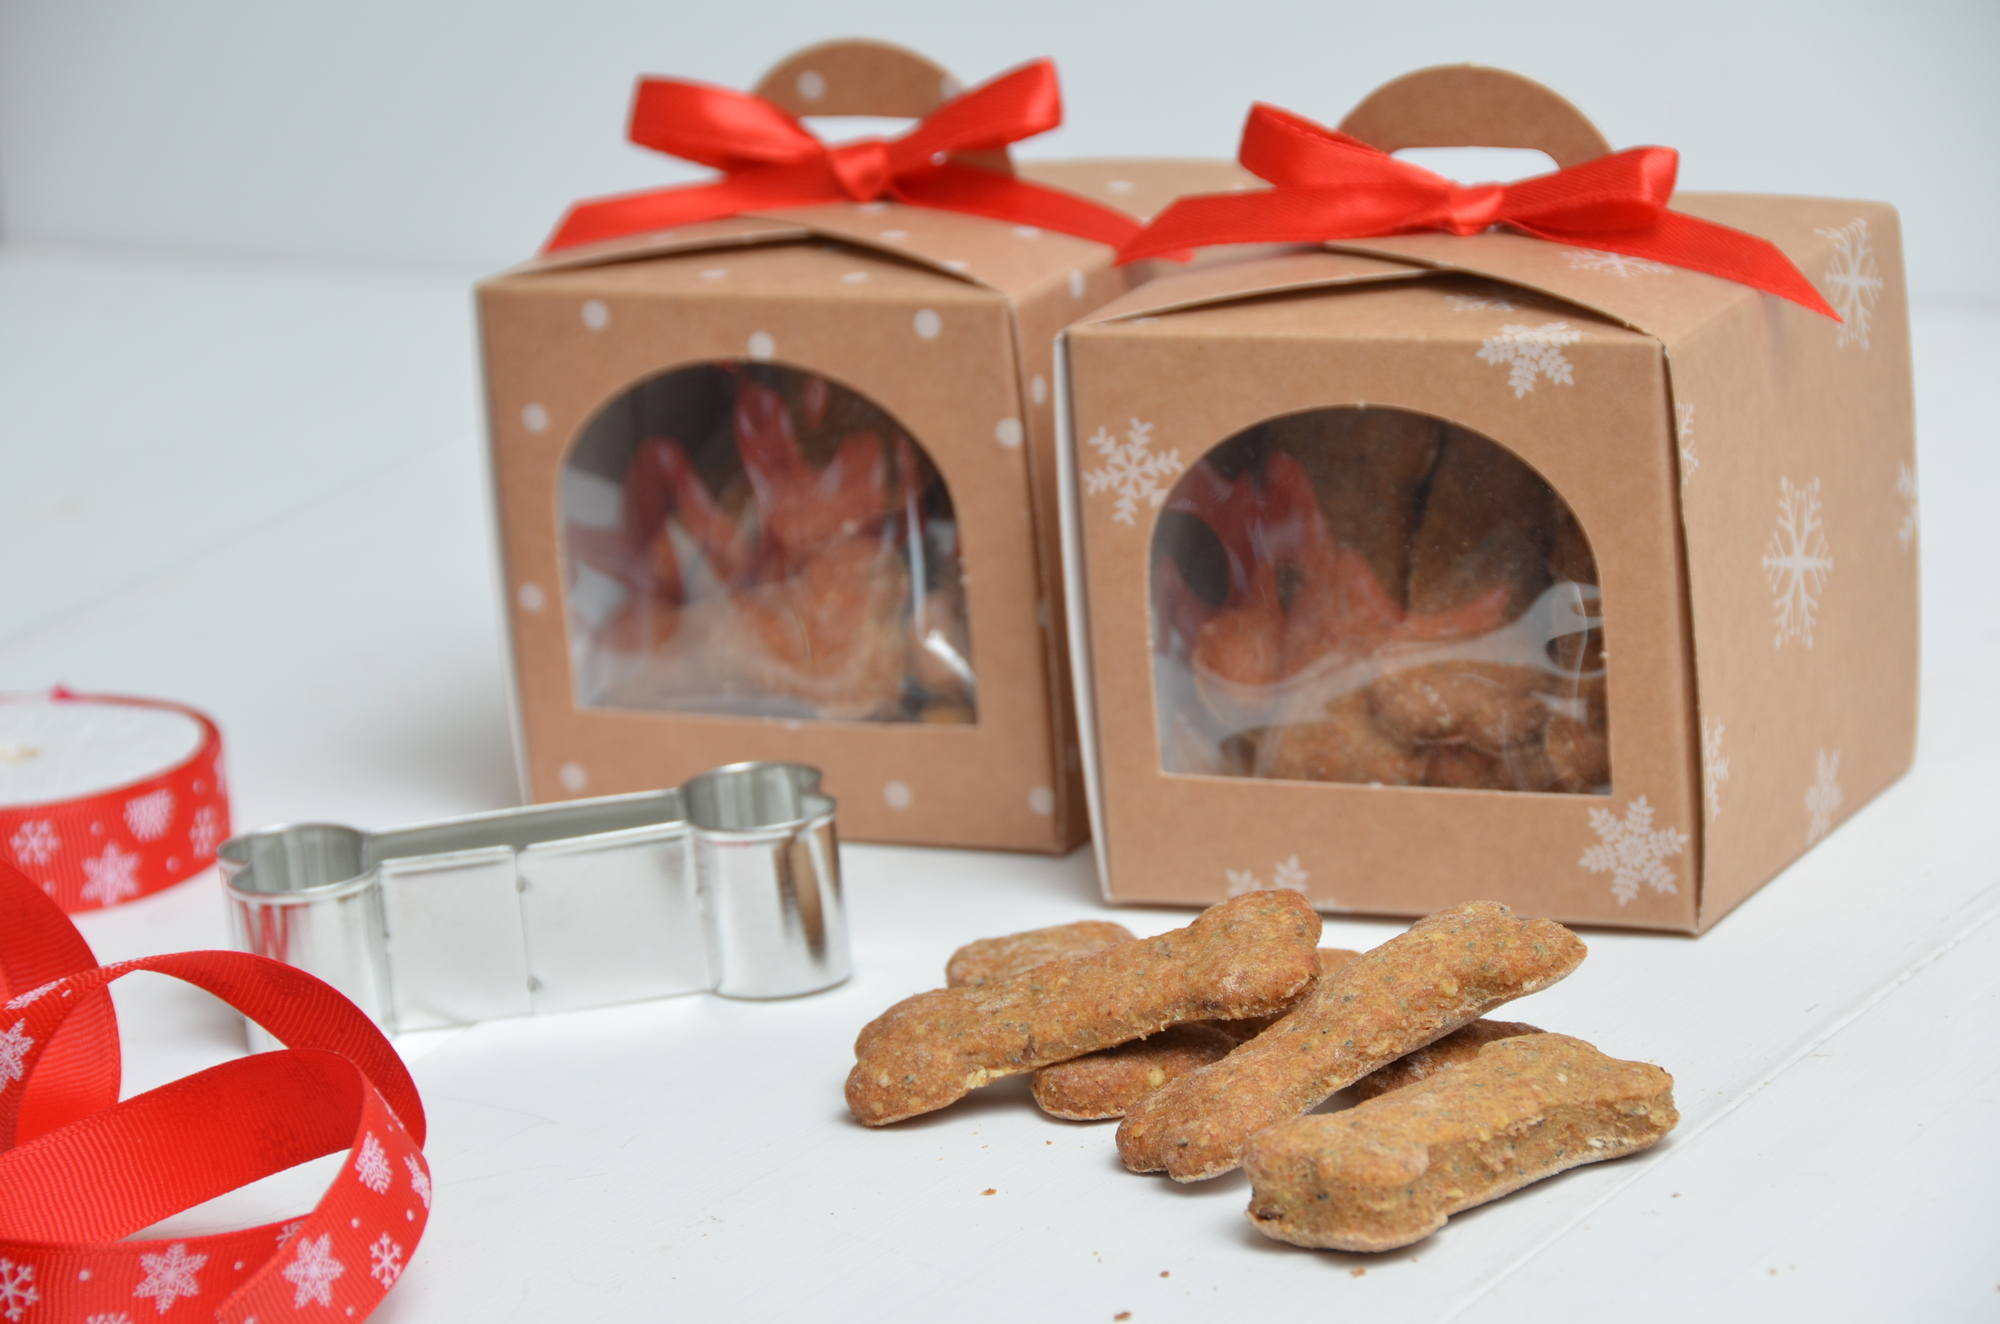
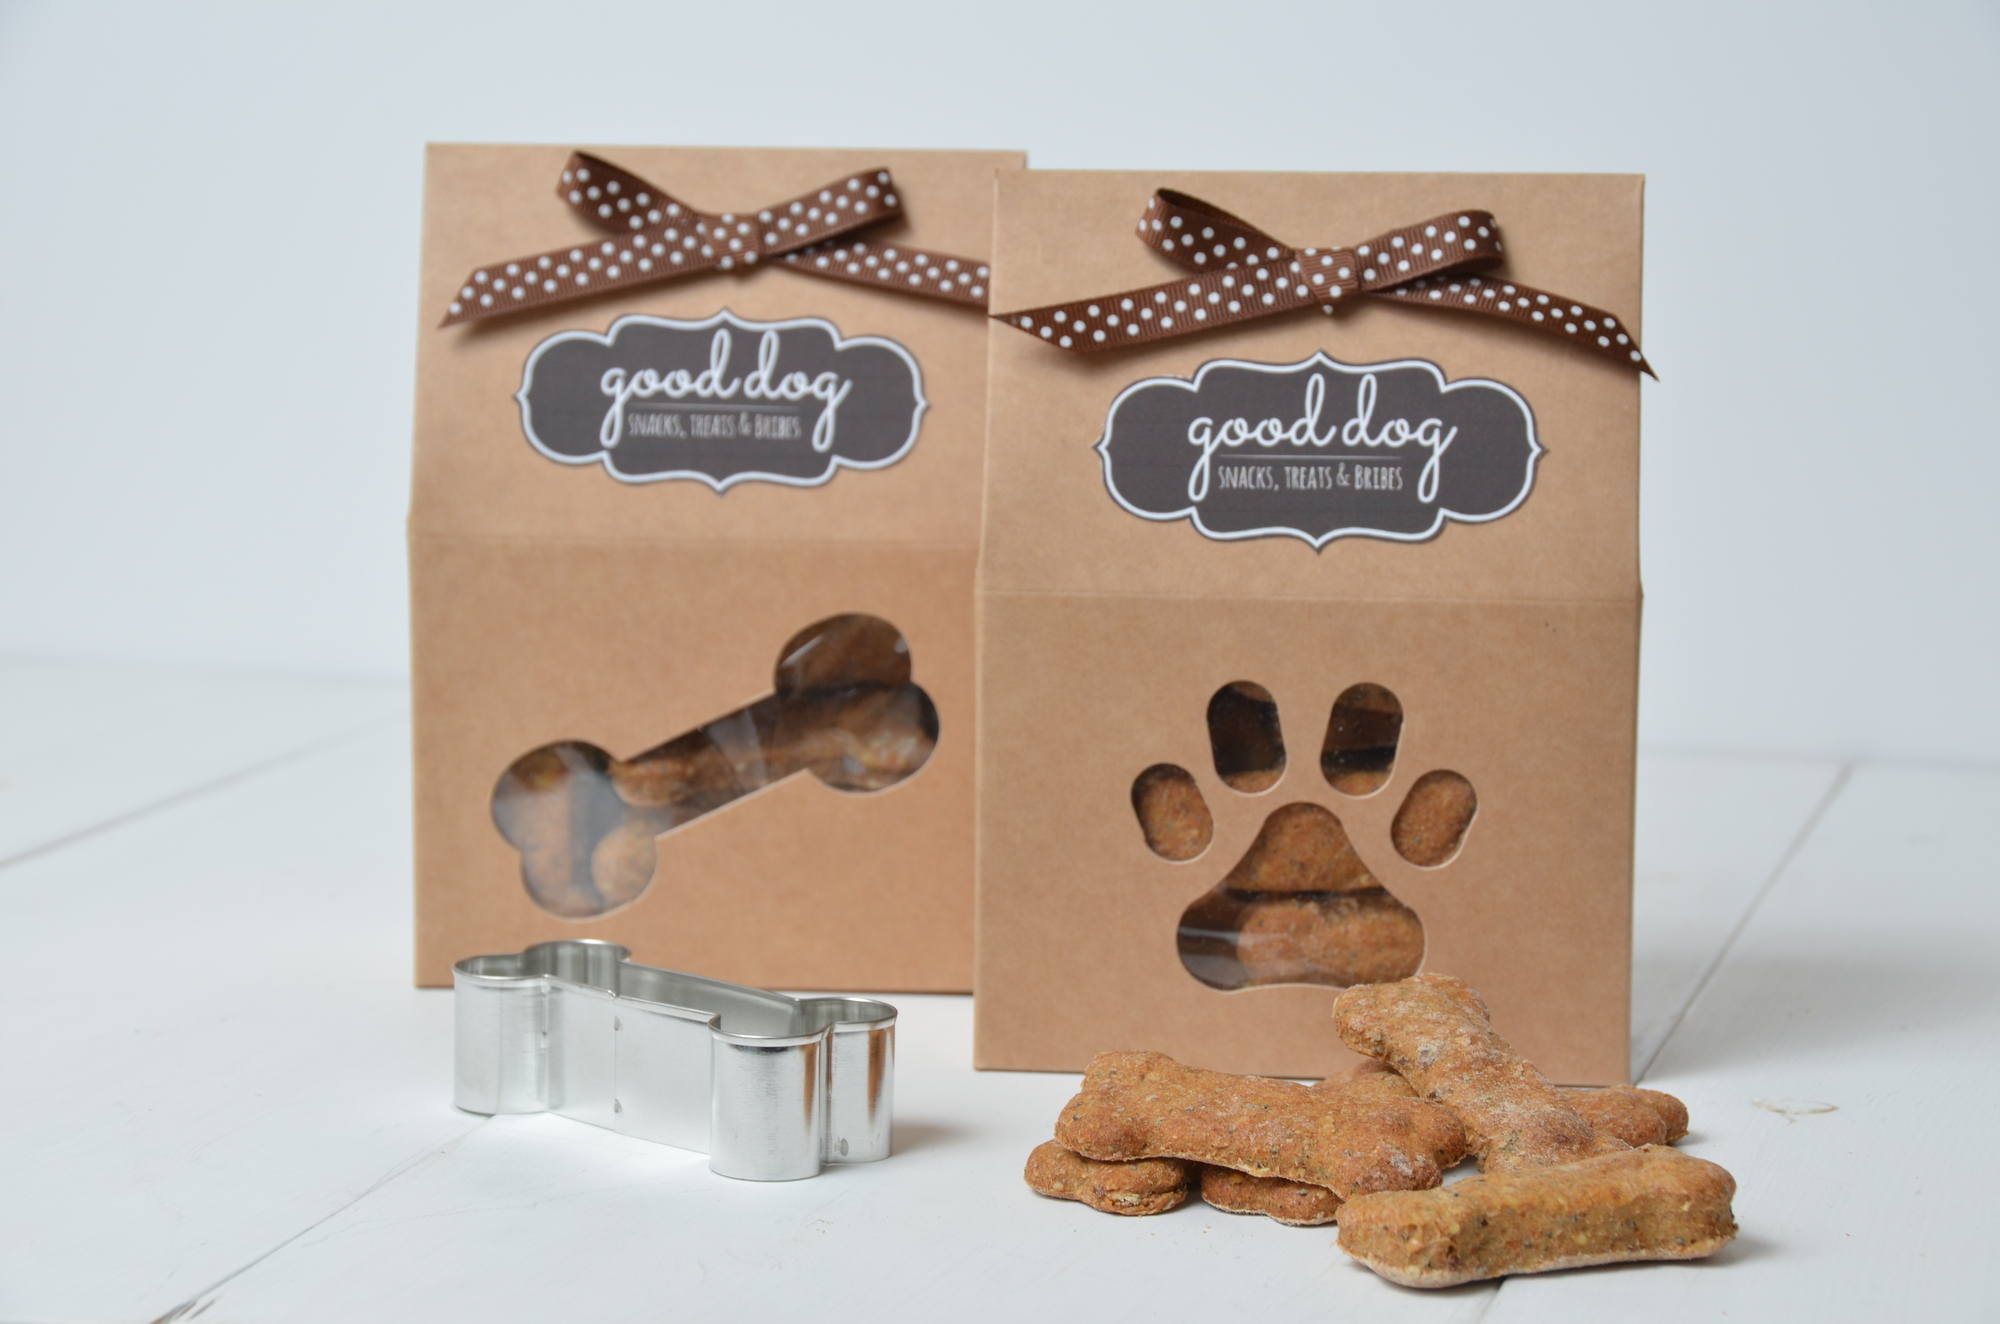
  2. These doggy biscuits are wonderful to make and can be stored for several weeks in an air tight container or better still they can be given as a present, presented in one of our doggy treat boxes.

    DSC_9849

    Ingredients

    200ml Very hot water (not boiling or you may burn yourself)

    80g soft butter or spread

    65g milk powder

    1/2 tsp salt

    2 tsp granulated sugar

    1 beaten egg

    435g wholewheat flour

    Preheat your oven to 170°C (fan 150°C) GM3

    DSC_9843

    Method

    Place the butter in a large bowl pour over the water and stir briefly with a wooden spoon. Add the milk powder, salt, sugar & egg. Then add about a third of the flour mix well, then add half of the remaining flour and mix again, then the rest of the flour. Bring the mixture together with your hands and knead for 3-4 minutes on the work surface.

    Shape into a ball then flour your work surface and roll out the dough until it’s 1cm-1.5cm in thickness. Cut out the shapes with cookie cutters and place on a greased/lined baking tray.

    Bake for 30-40 minutes (depending on the size you cut) until they are firm to the touch and starting to turn golden.


    Cool on a rack then package them in our doggy treat boxes or place in a jar. The bone shaped cookie cutter I used was approx 7cm at the widest part and I made 18 biscuits with this quantity of dough.

    Hope your dog enjoys them! ♥

    This recipe has been taken from www.samskitchen.net 

    Please visit Sam's blog for more wonderful recipes.

    DSC_9855